


IBM Rational DOORS Next Generation (NG) is an integral part of CLM which helps a Business analyst to capture, analyze and manage the functional and non-functional requirements effectively.
In my experience, I have also used this requirement management tool to collaborate with customers on the requirements captured to provide approvals or to provide the go-ahead for further development and testing.
NOTE: This tutorial has many images so allow it to load properly.
In this tutorial, I will explain to you the in-depth usage of IBM Rational DOORS Next Generation but before that let’s take a look at how we created and managed the requirements. Later, I will explain further what more can be done for effective requirements management.
Table of Contents:
IBM Rational DOORS Next Generation
Introduction to IBM Rational DOORS Next Generation
Please note that we are not looking at creating or capturing User Story items as requirements but at creating and managing end-user needs. User Story items are plan items from a development point of view and are managed in another tool called IBM Rational Team Concert.
In my previous article on IBM Rational Collaborative Lifecycle Management (CLM) we discussed the integrated view of the following 3 tools which provide an end-to-end delivery process in a single platform which is based on IBM Jazz.
- IBM Rational DOORS NG – for Requirements gathering and management
- IBM Rational Team Concert – for Project Planning, SCM, and Build management
- IBM Rational Quality Management – for Test management activities
IBM Rational DOORS Next Generation provides the following features:
- Creating and Managing Functional and Non-Functional requirements
- Business Processes Diagrams
- Use Case Diagrams
- UI Sketches and Storyboarding
- Approval process
- Impact Analysis
Creating Requirements for IBM Rational DOORS NG
Initially, let us start by creating Requirements.
Assuming that you have read my previous article on IBM Rational CLM to create a lifecycle project, we will log in to the same project to start creating and managing the requirements. The requirements once created will be linked to User Stories and Test Cases.
Here are the steps:
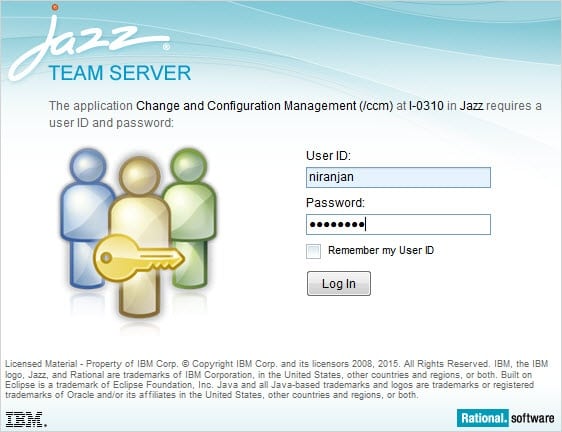
#1) Login to RM application using the URL https://<ServerName>:9443/rm/web
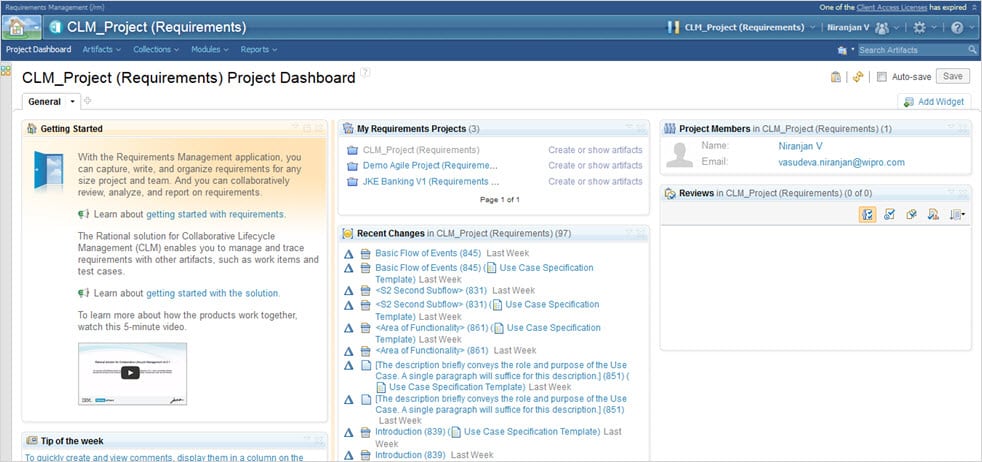
#2) Click to select the CLM_Project (Requirements) after logging in. The public dashboard which will be visible to the team members of this project will come up as shown below.
(Note: Click on any image for an enlarged view)
#3) Click on Artifacts -> Browse Artifacts to view the folder structure and to create requirements.

#4) Left-click on the “Features and Vision” folder and select “Create Artifacts”.


Enter the name as “Place Order for Music CD”, Artifact Type as “Feature” and Artifact Format as “Text” and click on OK.
#5) The newly created requirement will be shown here.
![]()
#6) Click on the newly created requirement and then click on Edit to add details

After adding the details, you can see various attributes or properties on your right-hand side that can be used to understand the requirements better. Click on Save once done.
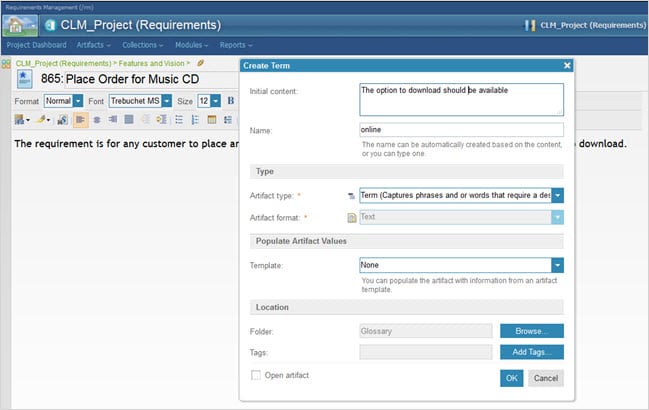
#7) The Glossary which defines key terms for reference can also be added. To add the same, select the word online and then right-click to create a Term.

Add Initial content to the description and make sure Artifact type is selected as Term. Select Other Details as shown and then click OK. Save the changes as well and then click on Done.

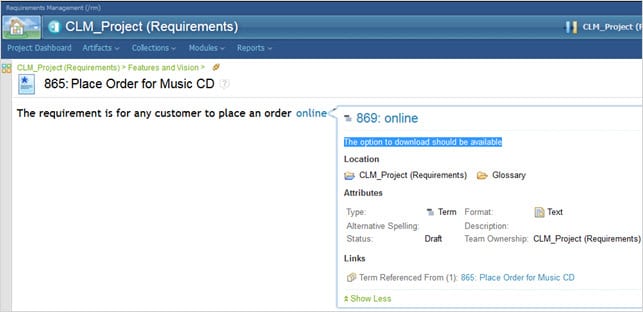
#8) Place the cursor over the glossary TERM as defined below and you will be able to see the meaning.
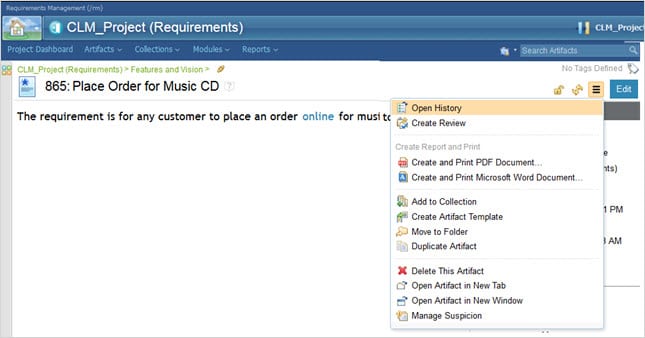
#9) All the changes made during the existence of the project are captured and are available as The History of the requirement which was just created and it will be shown as given below.
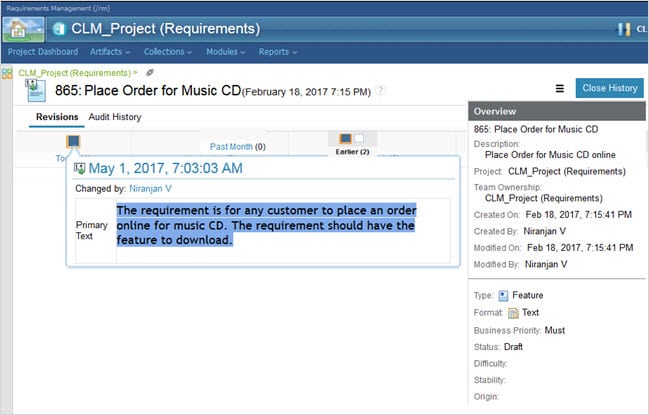
All the changes done over a period of time are captured and you can take a look at what changes were done earlier.
If there were any changes done on the History screen earlier, then that will also be captured. If any need arises to restore the change done some time back, then you can select the same from the Action menu and select Restore.


Click on Close History once done.
#10) Normally teams collaborate on the requirements through email or by some other disconnected means which is not really linked to the requirement.
However, DOORS NG provides a feature to add COMMENT to the requirements and collaborate with other users. To do so, EDIT the requirements and go to the COMMENTS category below on the right-hand side to Create a comment for Artifact.

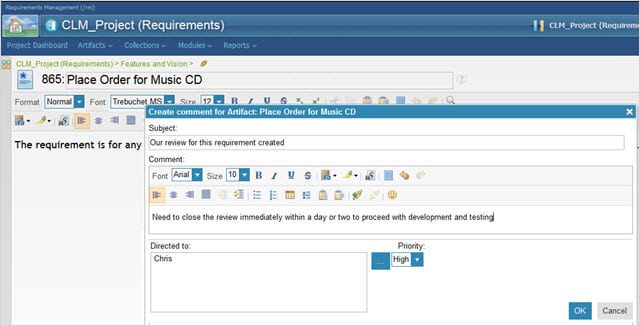
Add as shown above and then click OK. The user in the comment mentioned can log in to the project. The task mentioned for the user will appear on the dashboard and he can reply to the comment as well.
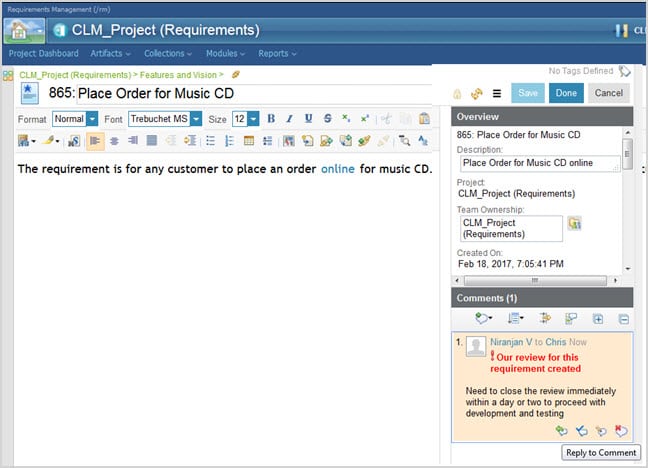
This is a handy feature to do a quick review and it will be visible to the entire team.
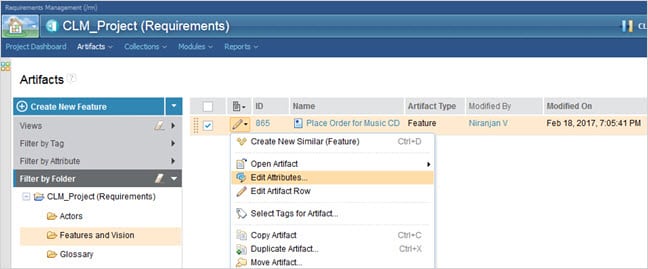
#11) Now let’s look at how to display or add values to the attributes for the newly created requirements in the Artifact dashboard. Go to Artifacts => Browse Artifacts, click on the Features and Vision Select the requirement just created, and then click on the option ‘Edit Attributes’.

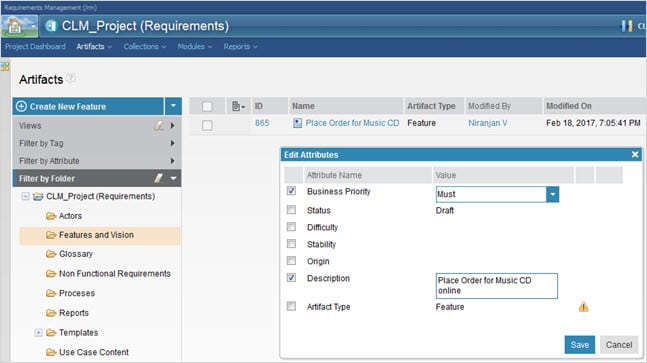
Select the attributes to add the value as shown below, later modify them and click on Save.
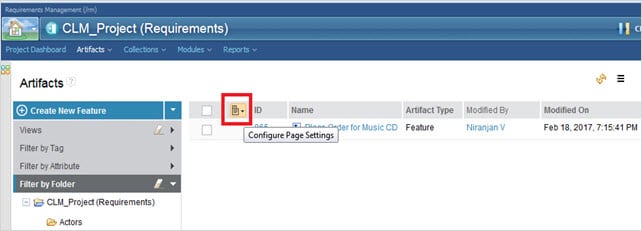
#12) In order to display the attributes, click on the icon to select “Configure Page Settings“.
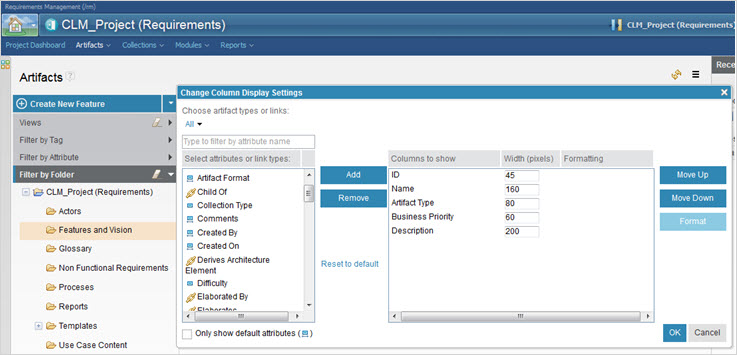
#13) Click on “Configure Columns to Display”

#14) Select the Business Priority and Description attributes to be displayed. Unselect the ones that are not required. Then click on OK

As you have seen, we have created a Business Requirement of type Feature, DOORS NG also allows you to create different types of requirements like Actors, Non-Functional requirements, any custom requirement types and also defines their attributes, Comments for collaboration, Glossary, History, etc.,
Defining the Business Process
We will now create a Business Process diagram to support the Business Requirement created earlier. A business Process diagram is easier to visualize for business users than a textual format. IBM Rational DOORS NG was created using BPMN notation which stands for Business Process Modelling Notation and is an industry-standard as well.
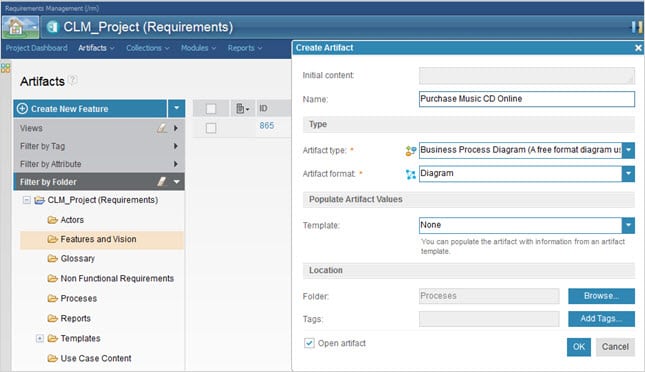
#1) To create the Business Process diagram, left click on the folder “Process” and then select, “Create Artefacts.”

#2) Give the name as “Purchase Music CD Online” and Artifact type as “Business Process Diagram”.
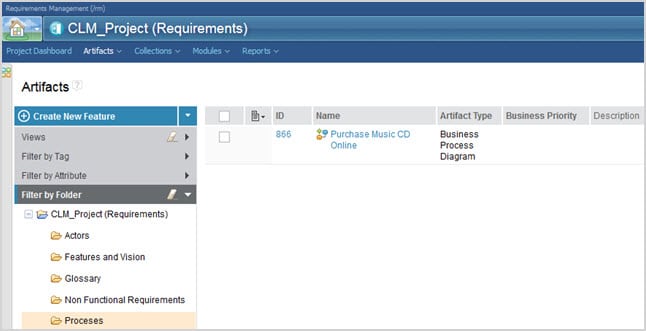
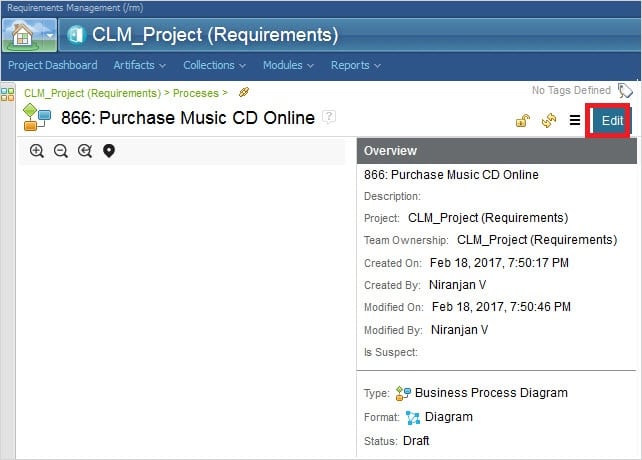
#3) The Process diagram created will be displayed and opened automatically. If not, click on it to open the diagram.
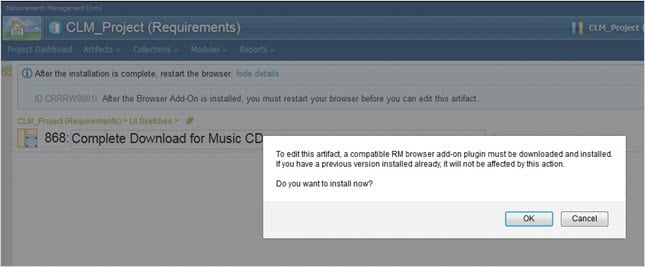
Click on Edit to open the diagram in a graphical editor. To open any graphical artifacts an RM Browser add-on needs to be available and it will be installed automatically on the edit of any graphical artifact. This is a one-time installation of the browser.
Please refer to this article to troubleshoot any issues with the add-on.
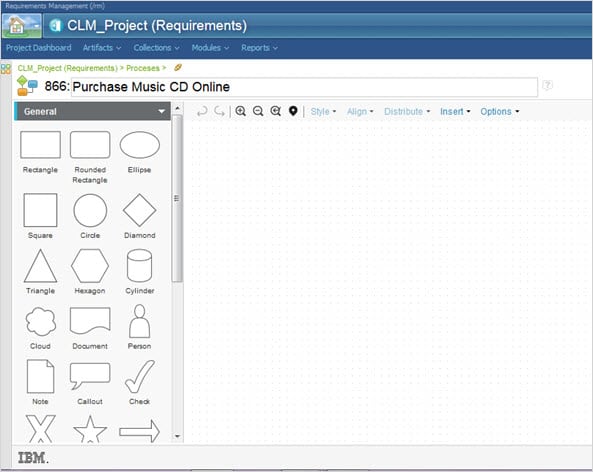
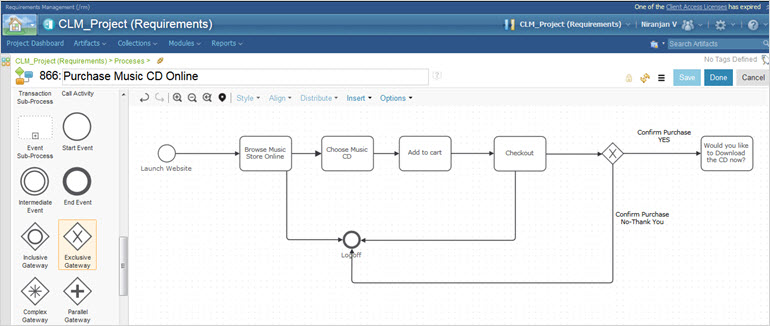
#4) Under Business Modelling, select Start Event notation and drag it to the diagram editor.
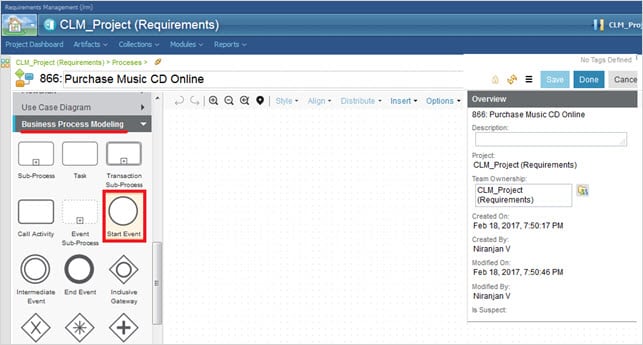
Name the Start Event as “Launch Website”, while the notation is selected start typing to name it.
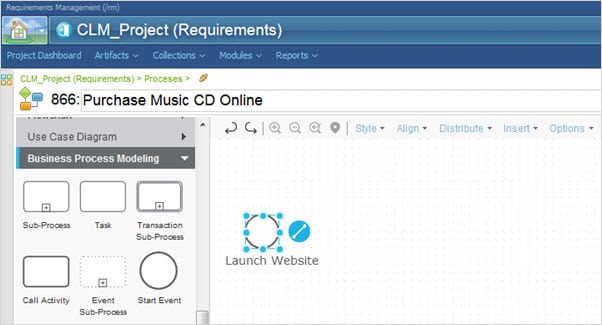
Create a Task and name it “Browse Music Store Online”.
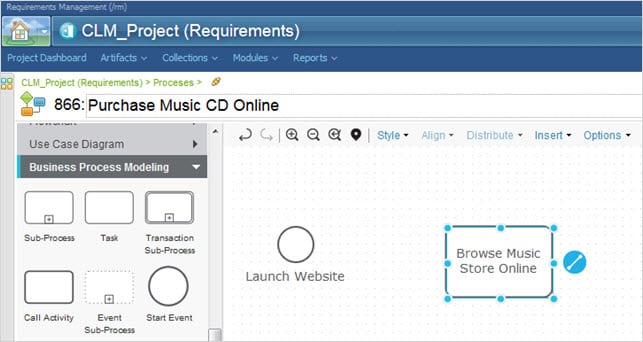
Click on the Connector icon and then drag it to the TASK as shown below.
![]()
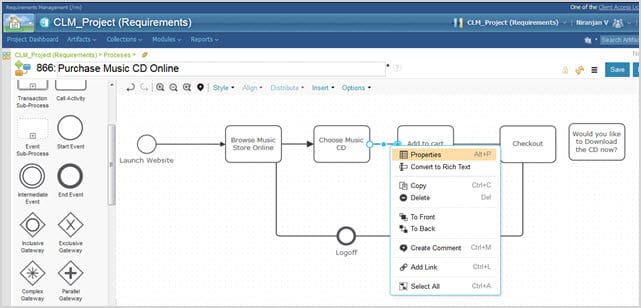
#5) To add arrows in between TASKS, select the arrow and click on Properties
#6) For the End drop-down, select the appropriate arrow.
![]()
![]()
#7) Now complete the diagram as shown and add an End Event for Logoff as shown below. Save the diagram once done.
User Interface Sketch
Let’s now create a User Interface Sketch. The UI sketch provides an initial view of what the web page will look like once implemented.
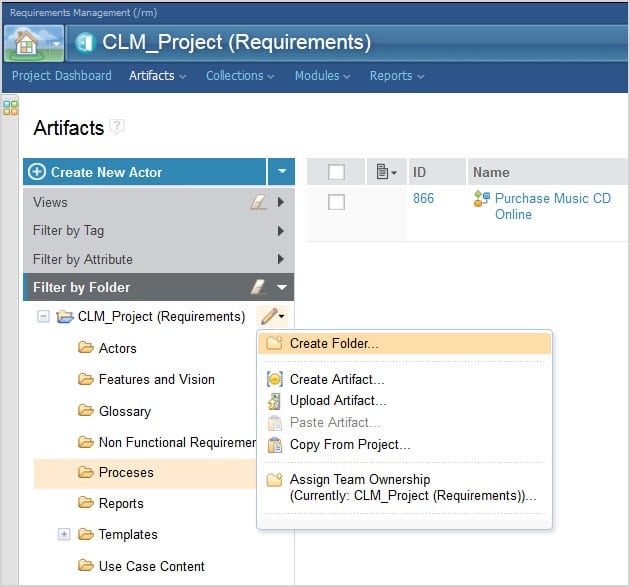
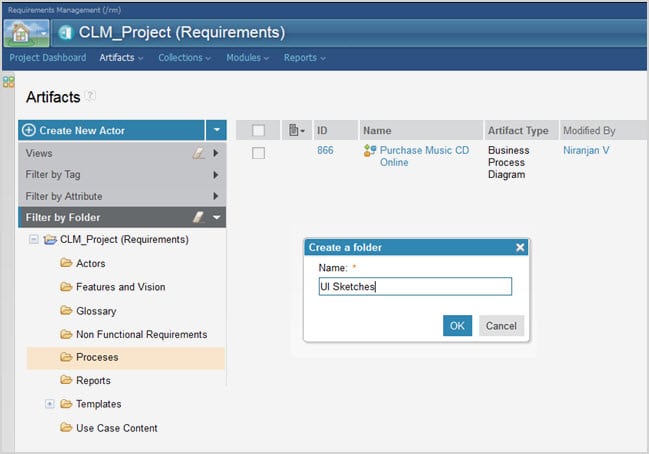
#1) To start creating a UI Sketch, go back to the main Artifacts page and create a Folder to hold the UI sketches.
#2) Name it as UI Sketches and then click OK.
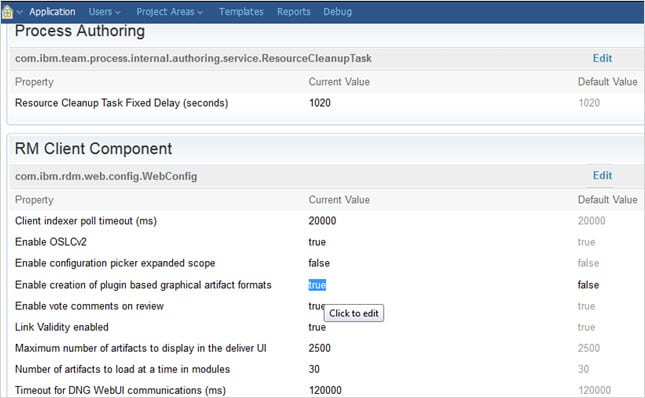
Note: Starting CLM 6.0.1 in case you need to create legacy graphical diagrams, the option “Enable creation of plug-ins based on graphical artifact formats” should be set to true. If not enabled then set it to true and then restart the CLM Server.
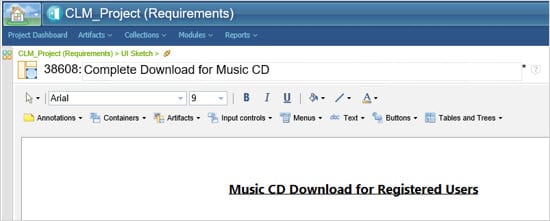
#3) On the UI Sketches folder, create a UI-type artifact and name it as Complete Download for Music CD.
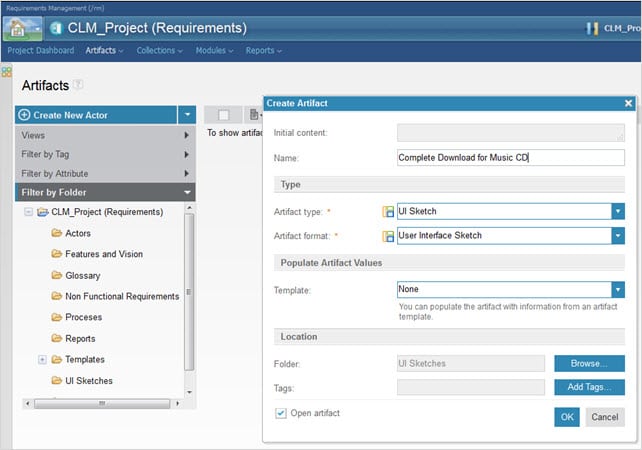
Click OK and the artifact will open. If in case you are asked to install the RM Browser Add-On then click OK to install it. It is preferable to use the IE11 browser to create the diagram artifacts.
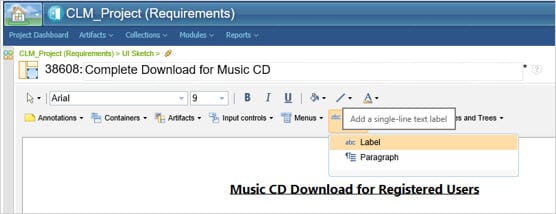
#4) Once the diagram artifact is opened, start by adding a Label and type the following as shown below.
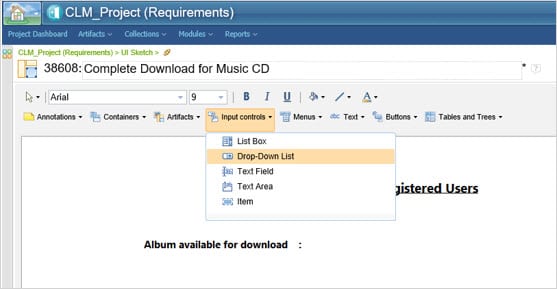
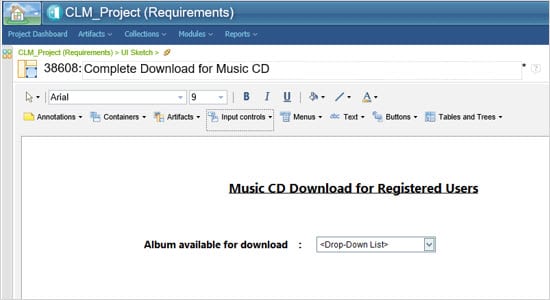
#5) Next, add a Drop-Down list along with the Label as shown below
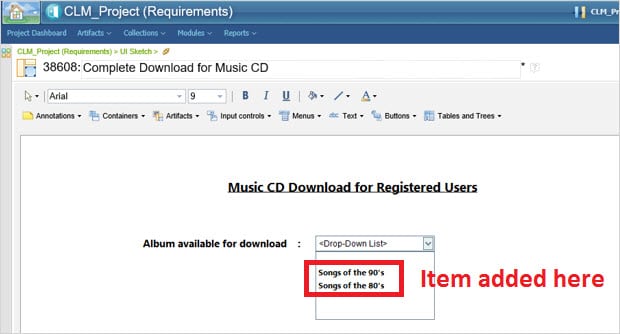
#6) Insert the Items into the Drop-Down list from the Input Controls menu
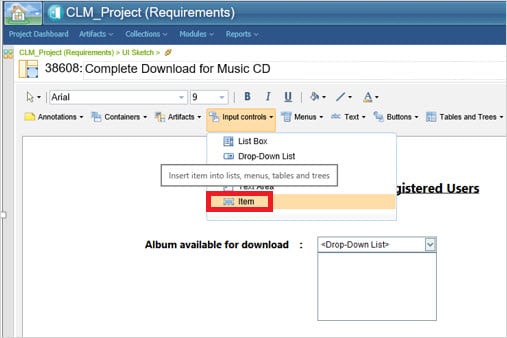
Drag the Items into the space inside the Drop-Down list
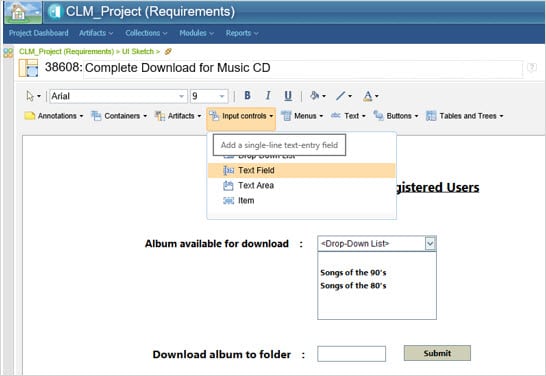
#7) Add a Text Field and a Button below to complete the UI Sketch
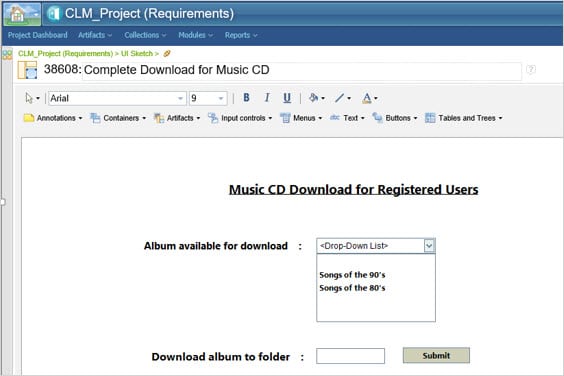
#8) Final view of the sketch looks like the image given below
Collections and Reports
IBM Rational DOORS NG provides a feature to prioritize your requirements in an agile way. This feature is called Collections.
You can either create an Iterative or Release Collection which will be later linked to either a Sprint or a Release plan during Development. Once Collection is created you can add the prioritized requirements to be planned for future development and testing.

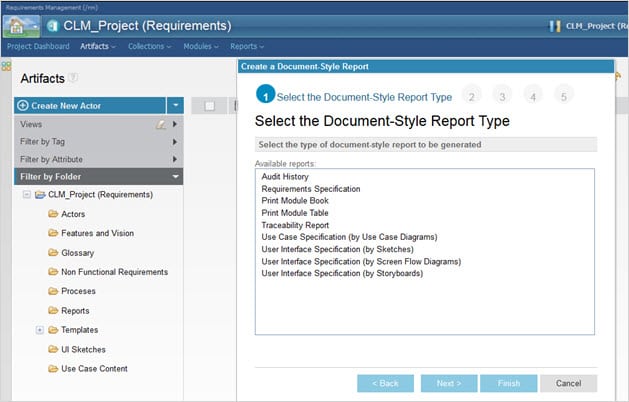
Finally, I am concluding with the different reports that can be generated for review or documentation purposes. From the Reports, menu selects the option to generate the report.
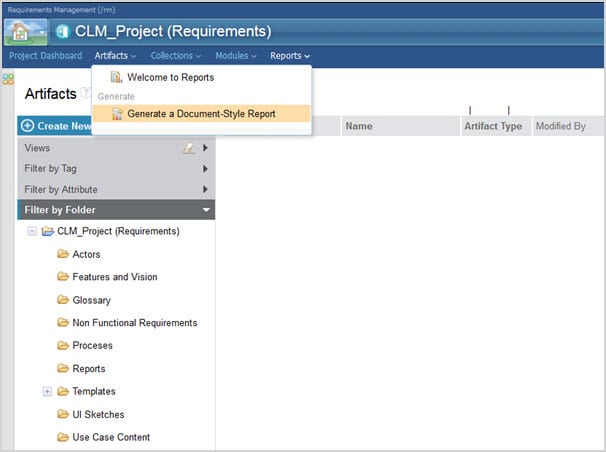
Following pre-defined reports can be generated and saved as a Word document or a PDF file.
Conclusion
Well, in this IBM Rational DOORS Next Generation tutorial we have seen the requirement management process that every team should follow for effective delivery of any application or product. There is an old saying which says “Requirement errors caught early are less expensive to fix than later”.
Effective requirements gathering and management are very crucial in understanding and prioritizing the needs of the customer.
In my upcoming tutorials, we will see more about tools like IBM Rational Team Concert which is used for development & build and IBM Urban code Deploy for deployment automation. The last in the series for IBM Rational CLM is Rational Quality Manager for Test Management which all of you have already seen and read about.
Let us know your thoughts/suggestions in the comments section below.
Was this helpful?
Recommended Reading
-

Rational Robot is an automated functional, regression testing tool for automating Windows, Java, IE and ERP applications under windows platform. This article should be a good start for those who wants to learn Rational Robot test automation tool. Read on for Rational robot tutorial with trial version download and resources.
-

IBM Rational CLM exhibits the traceability relationship between requirements and development thereby enabling the business analyst and project manager to know the status of the set of business requirements and the planned work items. In short, IBM CLM is a combination of Requirements Management, Change & Configuration Management (CCM), and…
-
This is a hands-on review of the qTest Test Management Tool by guest author Kaushal Amin, whose team is using this tool. See the author's details at the end of the article. I’ve been checking out the latest Test Management Tool to hit the market, qTest, developed by QASymphony. The…
-
IBM Rational Team Concert (RTC) is one of the key components of the IBM Rational CLM solution which helps the project managers and developers maintain certain artifacts within one single repository. In this tutorial, we are going to take an in-depth look at Defect Management using “IBM RATIONAL TEAM CONCERT”…


I’ve had a ticket open with IBM for months regarding not being able to edit my old diagrams after upgrading to 6.0.2. Not once did they mention the “Enable creation of plug-in based on graphical artifact formats” option needed to be turned on.
Best tool to use with loads of functionality! But just the cost concern.