Switching phones isn’t tough anymore. Follow our quick step-by-step guide to easily transfer Google Authenticator to your new iOS or Android mobile without losing accounts:
So, you’ve got yourself a brand new phone. Congratulations! But don’t throw away your old phone just yet, especially if you were using it to generate Google Authenticator codes.
Please transfer them to the new phone immediately. This will ensure you can continue to use those codes to secure the various online accounts you possess.
Of course, there are many guides online that can walk you through the steps. Alas! Most of these guides or tutorials overcomplicate something that is far too simple.
Step-by-Step Guide to Transfer Google Authenticator to a New Device
This is where my expertise comes in. My goal with this article is to provide you with the simplest guide on how to use Google Authenticator to transfer codes.
So, without much further ado, let’s dive in.
Here is the video guide on transferring Google Authenticator to a new phone.
Quick Answer for How to Use Google Authenticator Transfer
Google Authenticator lets you secure multiple user accounts via 2FA protection by generating unique 6-digit codes. You can sign into Google Authenticator with or without a Google Account. The latter is recommended, as it facilitates automatic cloud-syncing of all your generated 2FA codes.
With your codes backed up, your access to them is restored instantaneously even if you lose an old device or switch to a new phone.
What is Google Authenticator
Google Authenticator is a free-to-use app that generates unique 6-digit verification codes to help you secure your online accounts via 2FA. This code essentially acts as an extra security measure beyond your password. The app works to secure all online platforms that support 2FA for login.
Let’s say you wish to log into your Facebook account. You’ll first need to enter your login credentials, followed by the 6-digit verification code provided to you by Google Authenticator. This extra layer of security goes a long way in ensuring your accounts don’t entertain unauthorized access.
Is Google Authenticator Safe
I mean, the app carries the prestige of something as prominent as Google itself. Rest assured that the app is absolutely safe to use. The codes it generates are unique and refresh after every 30 seconds. There is no question of anybody faking them to access your online accounts.
You also don’t need to be connected to the cloud, the internet, or mobile data to use Google Authenticator. This significantly cuts down the risk of your data being breached or any dubious entity online tampering with the app.
How Does Google Authenticator Work?
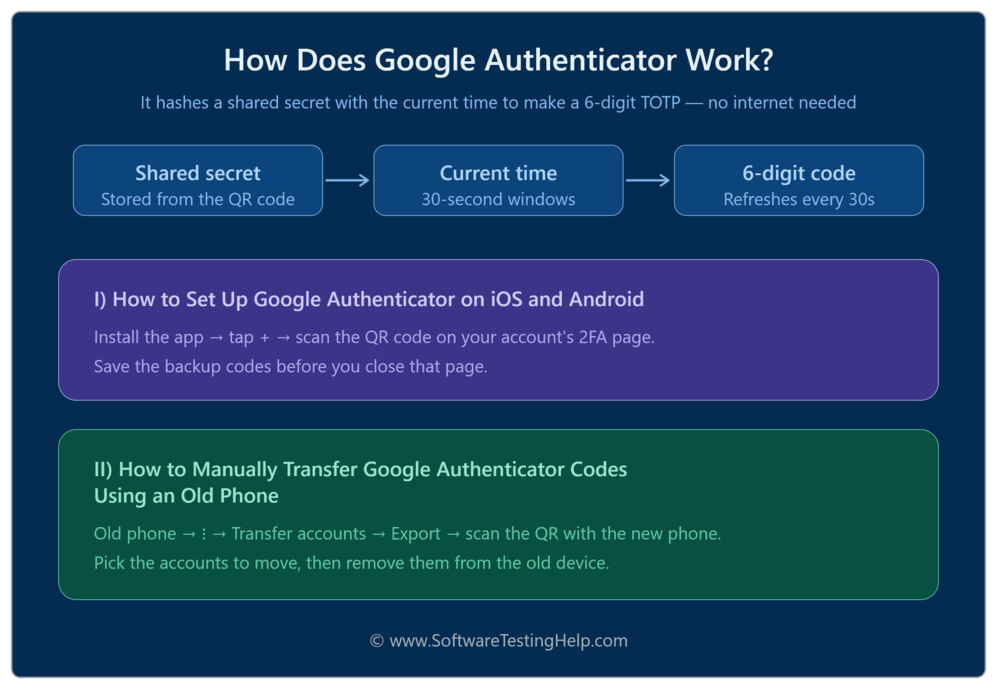
Now that you know what Google Authenticator is, it only makes sense to learn how it works. I will explain the app’s functionality in an easy-to-understand way, regardless of your tech comfort level.
Let’s first start by learning how to set up Google Authenticator on a new phone:
#1) How to Set Up Google Authenticator on iOS and Android
Follow the steps below to set up Google Authenticator on iOS or Android:
- First, download the app from the Google Play Store or the Apple App Store.
- With the app downloaded, open it and tap on Get Started.
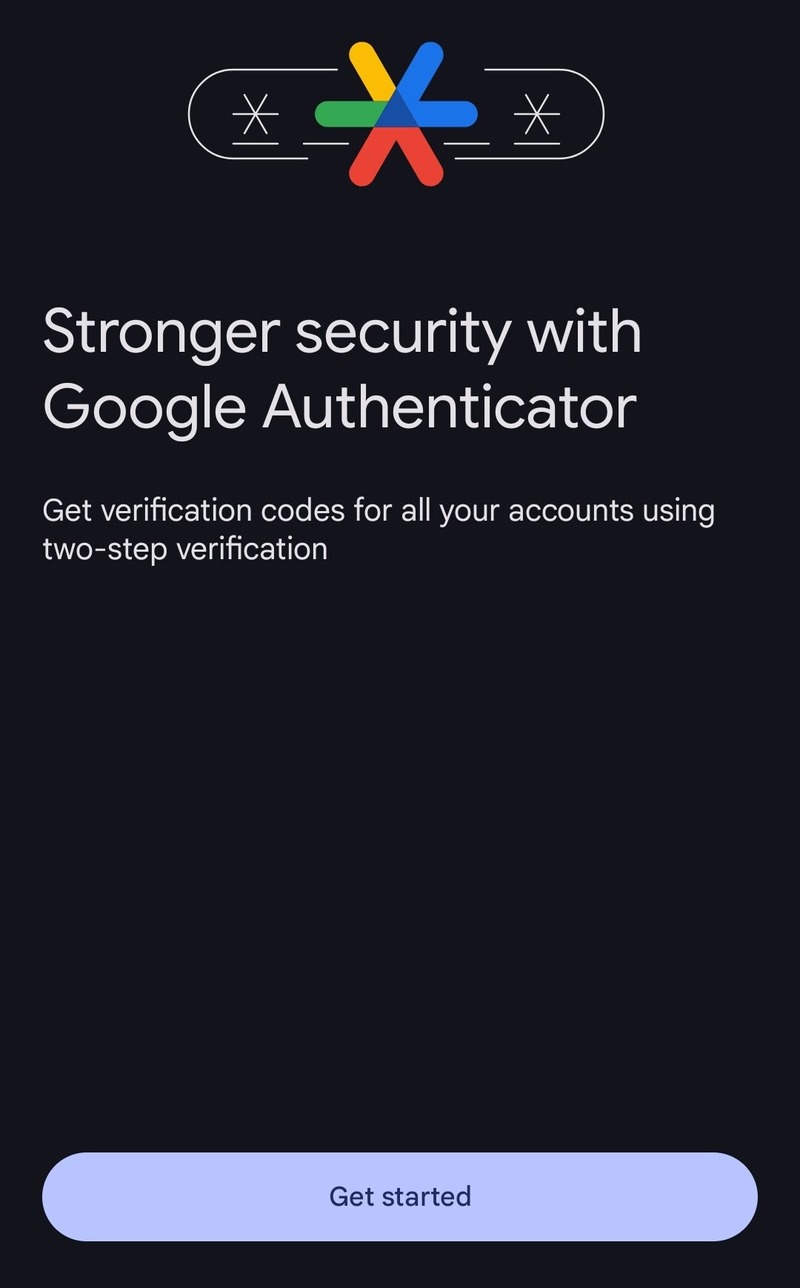
- You’ll now have the option to either continue on the app with your Google Account or use the app without it. My advice would be to log in with your Google account to sync all of your generated codes with that account.
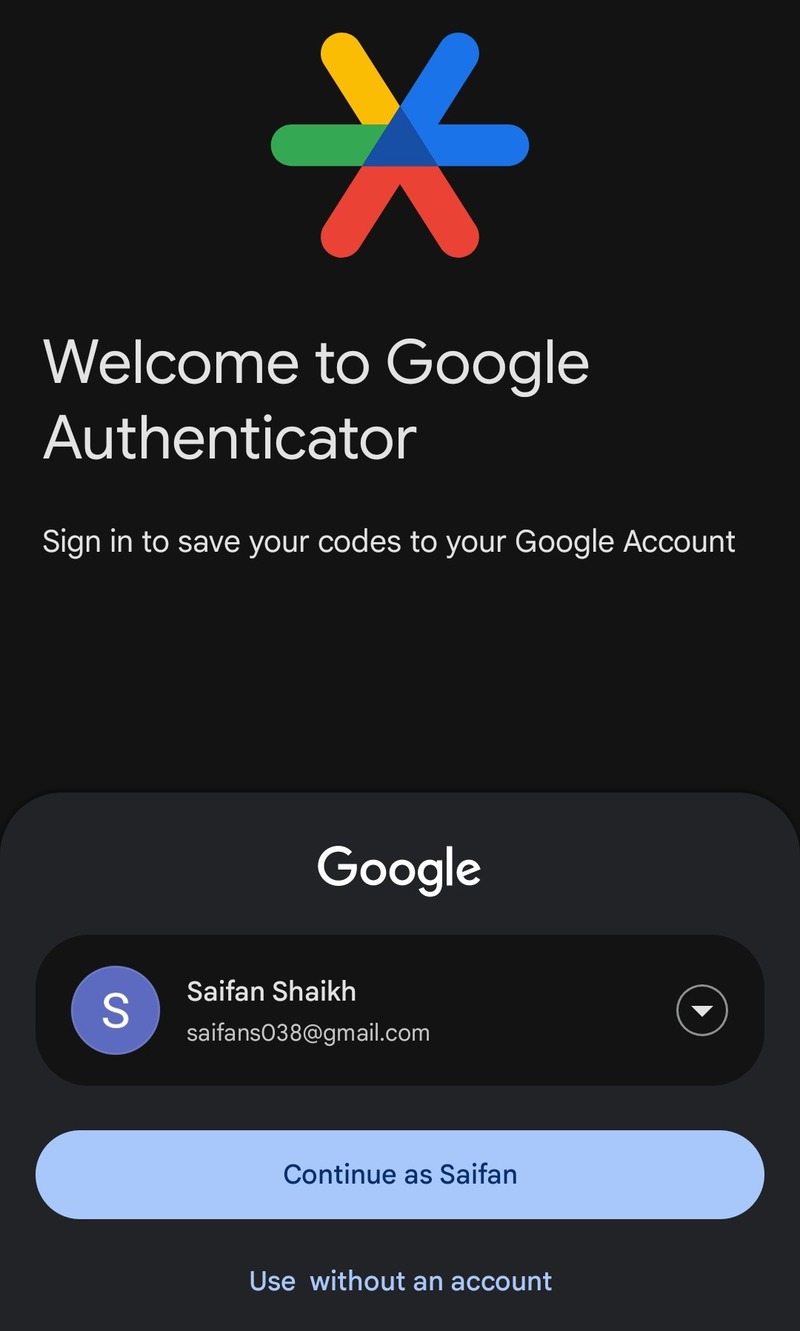
- On the next page, simply tap on Add a Code.
- You’ll now be provided with two options to add the authenticator code to one of your online accounts. Either scan a QR code or enter a Setup Key.
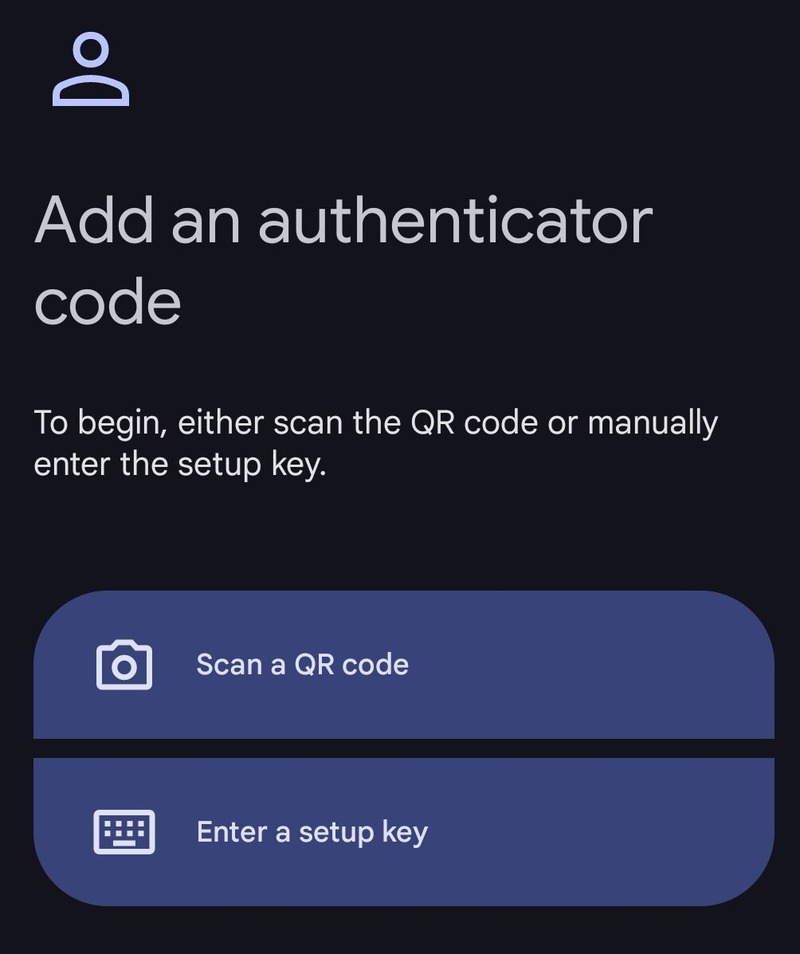
Now you choose which online account to secure with the code. For this guide, I’ll show you how to secure your Google account by linking it with the authenticator.
Set Up Google Authenticator for your Google account
- On your Android or iOS device, go to Settings > Google > Security > Select 2FA.
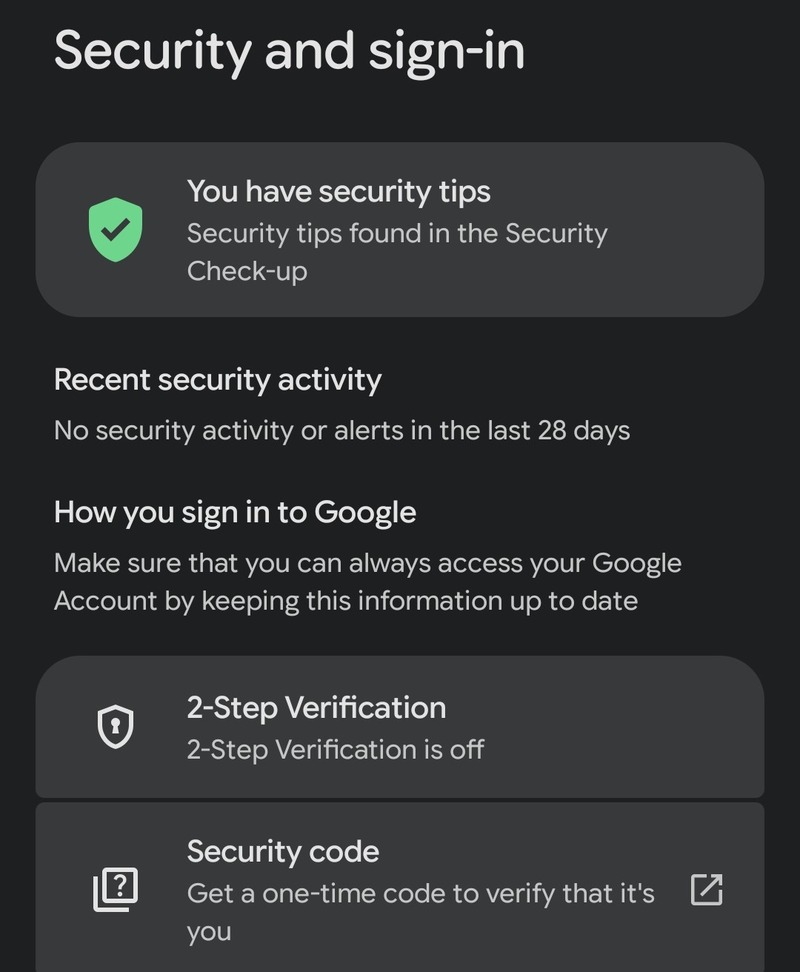
- Tap on the Authenticator option > Set Up Authenticator.
- You’ll now see a QR code pop up.
- Now, using the other phone, open Google Authenticator and select the option – Scan a QR Code.
- Point the scanner at the screen where the QR code is present to scan it. This will give you a six-digit code.
- Now just enter this code on your Google account to link it with the authenticator.
Pat yourself on the back, as you have successfully learned how to set up Google Authenticator on a new phone.
How to use Google Authenticator without a Google account?
Remember, I said you can set up Google Authenticator with or without a Google account. Allow me to explain what it would look like to take this route.
- First, when you launch Google Authenticator, tap on “Use without an account”.
- If codes are already saved to your Google Account, tap on your profile picture and select “Use authenticator without an account”.
This will result in codes being removed from your Google account and being saved on your device instead. You’ll only be able to access the code from that device.
I would recommend saving all Google Authenticator codes to your Google account. This will ensure you are never locked out of your account in the event you end up losing your old phone or switch to a new one.
#2) Steps to Manually Transfer Google Authenticator Codes Using an Old Phone
With all of that out of the way, we can finally discuss how to move Google Authenticator to a new phone. The Authenticator app makes this simple with its “Transfer” feature.
For this method to work, two conditions must be fulfilled:
- You need to have both your old and new phones by your side.
- Install the latest version of Google Authenticator on your old device.
With those conditions met, you can proceed to transfer the code.
Here’s how you do it:
Transferring Authenticator Keys on iOS
- First, open Google Authenticator on your new phone.
- Tap on Get Started.
- Tap on Scan a QR Code.
- Now take your old phone and open the Google Authenticator app on it.
- On the old phone, click on the three dots you’ll see at the bottom right corner of your screen and select “Transfer Accounts”.
- You’ll be manually exporting Google Authenticator codes. So, tap on “Export Accounts” next.
- Uncheck all accounts you don’t wish to transfer and tap “Next”.
- Scan the QR code that appears on your new phone.
- All of your accounts will now appear in the Google Authenticator on your new phone.
Transferring Google Authenticator to a New Phone on Android
The process, more or less, remains the same. Here’s how you transfer Google Authenticator to a new phone.
- First, open Google Authenticator on your new phone.
- Tap on Get Started.
- Tap on Scan a QR Code.
- Now take your old phone and open the Google Authenticator app on it.
- On the old phone, click on the three dots you’ll see at the top right corner of your screen and select “Transfer Accounts”.
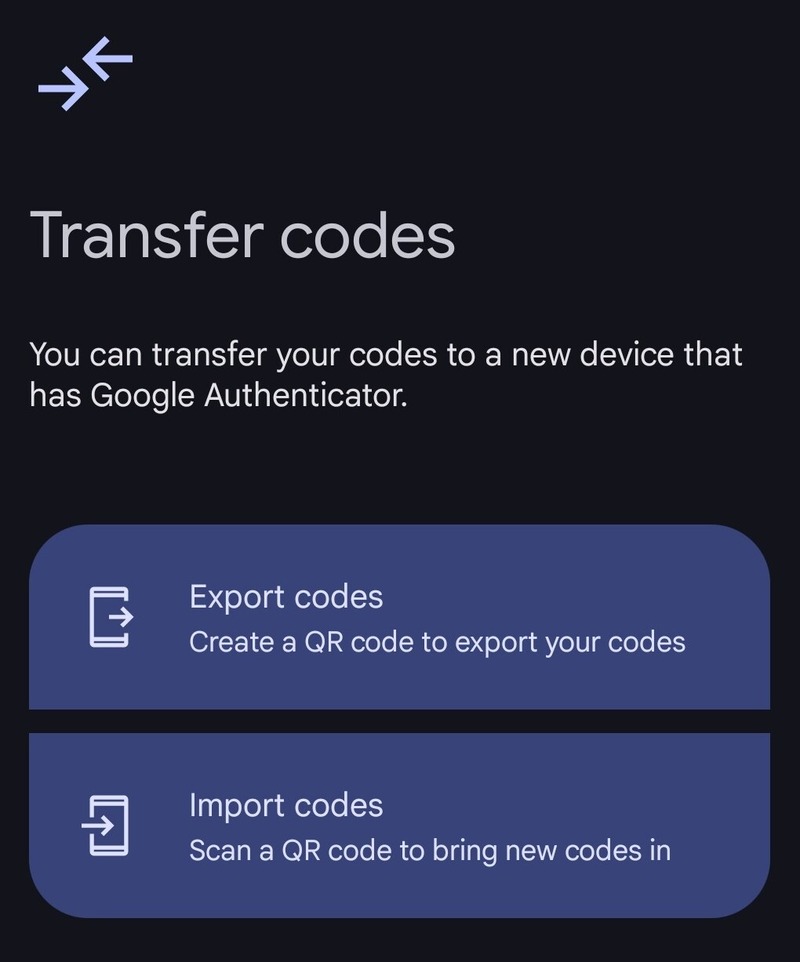
- Tap on “Export Accounts” next.
- Uncheck all accounts you don’t wish to transfer and tap “Next”.
- Scan the QR code that appears on your new phone.
- All of your accounts will now appear in Google Authenticator on your new phone.
It is that simple to move Google Authenticator (Android to iPhone/iPhone to Android).
Can I transfer Google Authenticator without my old phone?
To those asking what to do if I lose my phone with Google Authenticator, here’s my answer to you.
It is impossible to transfer Google Authenticator keys without your old phone. There is a workaround to this issue, though. You’ll need to navigate to the online account’s 2-step verification settings and switch your authenticator key by clicking on the “Change authenticator app” option.
How to Use Google Authenticator with Multiple Google Accounts
If you are thinking of transferring 2FA codes by syncing with your Google Account, this is how you sync Google Authenticator across devices.
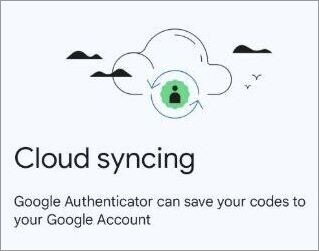
- Follow the steps I’ve shared above to set up Google Authenticator with your Google Account.
- Once done, tap on your profile picture and tap on Add Another Account.
- Select the accounts you wish to add.
- You’ll be asked for permission to save codes to the Google Account added. Click on Allow.
This way, you’ll be able to see codes for multiple Google Accounts from a single device.
Google Authenticator Codes
This section explains how to edit, organize, and delete Google Authenticator codes in detail:
#1) Editing Google Authenticator Codes
Besides transferring codes, you can also edit Authenticator codes on both iOS and Android devices. You have the privilege to edit the username for a code or save the code to a different Google account.
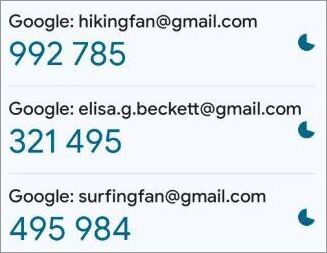
All you have to do is tap on the code you wish to edit and swipe left. You’ll see the edit option. Simply tap on it.
#2) Organizing Google Authenticator Codes
Organizing code is just as simple as editing it. First, find the code you wish to edit or organize using the search bar. You can type any text matching the code you wish to organize.
Once you’ve found the code, tap and hold it before dragging it to a location on the interface you desire.
#3) Deleting Google Authenticator Codes
Remember, we swiped left to edit the code. Swiping right instead will show us the delete option to completely erase the code from your Google Account.
Once you tap on the “Delete” option, simply tap on the confirm button. If this code was synced to your Google account, it will be erased from all devices where it was originally synced.
If you wish to delete all codes in bulk, your best bet would be to delete the Google Authenticator service instead. This way, the authenticator codes will be deleted from your Google Account and won’t show up on any of your devices again.
Note that deleting the Google Authenticator service won’t affect your Google Account, but deleting your Google Account will erase all Google Authenticator codes.
Protection Measures to Employ via Google Authenticator
Enlisted below are some of the protection measures you can employ via Google Authenticator.
#1) Privacy Screen
Enabling the privacy screen stops people from seeing the Authenticator app the moment you switch on your phone. This can result in code on the app being exposed to someone who shouldn’t see it.
Here’s how you enable the privacy screen:
- Go to the Authenticator App > Settings > Privacy Screen
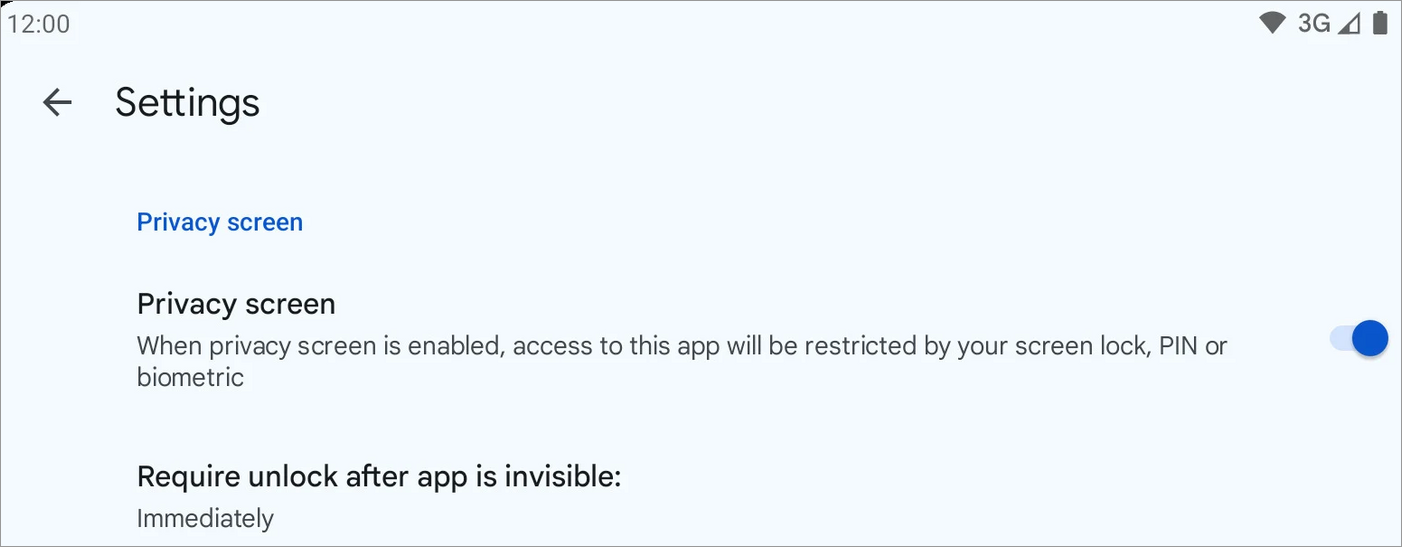
- Turn on Privacy Screen
- Complete the displayed verification process.
With the Privacy Screen on, you’ll need to go through an additional verification process, like entering a PIN or biometric prompt, before the app can be used.
#2) Backup Codes
In case you lose your old device, the codes you’ve saved in it will also be lost if you haven’t backed them up or synced them to your Google Account. I would recommend that you back up all your 2FA codes. Save them as a PDF or print them out just in case.
#3) Use Your Device’s In-Built Security
Modern phones give you many options to protect your device. Lock your screen properly with a PIN, pattern code, or biometric measure. Also, make sure your phone’s screen locks automatically after a brief period of inactivity.
Frequently Asked Questions
1. What should I do if I lost a phone with Google Authenticator?
If you’ve lost a phone with Google Authenticator, you’ll need to consider alternative ways to log into services that otherwise require the codes.
Many services offer emergency one-time backup codes that you can use, which can come in handy if you’ve lost a device with 2FA codes in it.
It can be easier to access an account or service once you have a new phone with a new SIM card. You can get a verification code via SMS and use it to re-verify your credentials to access an account.
If you are logged into a service from another device, you could use this opportunity to disable 2FA on that service. If all else fails, you’ll have to contact the service’s customer support to help you out.
2. Can I recover my Google Authenticator?
Although impossible to recover Google Authenticator codes remotely, you can still recover access to the Google Authenticator app by logging into it via a new device or using the recovery codes that were provided to you when you first logged in. That is why backing up your codes is important.
3. How do I use Google Authenticator?
You can use Google Authenticator to secure access to online accounts by adding an extra layer of security over your initial passcode. It grants you a 6-digit unique code to facilitate 2FA on various accounts like Instagram, Facebook, Gmail, Google, etc. I’ve provided a detailed guide on how to use the Authenticator to secure your accounts above.
4. What happens to your old device’s code after transfer?
As long as your Google Authenticator is synced to your Google Account, all of your codes will remain. Besides this, whether the codes remain on your old device after transfer also depends on your own actions during the export.
When exporting codes, Google Authenticator will ask you whether you wish to remove the codes from the old device. If you confirm, then the codes will disappear from your old device.
5. Can I transfer Google Authenticator from one phone to another?
Yes, you can transfer Google Authenticator from one phone to another via the transfer feature. However, you’ll need to have access to both phones and have the latest version of Google Authenticator installed in each. You can follow the detailed process to export/import Google Authenticator accounts provided in the article above.
6. What if I forgot to transfer Google Authenticator to a new phone?
You can still transfer Google Authenticator to a new phone, provided you still have access to the older device. If not, code backups could help. If you don’t have code backups, then try contacting the support of the service you wish to access.
7. Can I use the same Google Authenticator on two phones?
Yes, there are no restrictions on you using Google Authenticator on two phones. If you’ve signed into Google Authenticator using your Google account, then you’ll have to use codes across devices.
8. What to do if Google Authenticator transfer is not working?
If Google Authenticator’s transfer feature fails to respond, the problem could lie with your phone’s camera, the generated QR code, or synchronization.
Try the following tips to see if the authenticator works again:
• Enlarge the QR code size
• Make sure you are logged into the same Google account on both phones.
• Try exporting codes in smaller batches
• Disable Privacy Screen.
• Disable your phone’s 2FA.
9. Should you use passkeys instead of Google Authenticator?
Passkeys, such as protection via Face ID or fingerprints, can bolster your phone’s security considerably, especially against phishing attempts. Although a passkey can prove effective as your primary sign-in method, it isn’t exactly a replacement for Google Authenticator, nor should it be seen as one.
Passkeys are better than passwords when it comes to security, whereas Google Authenticator can add another layer of security by demanding a 6-digit verification code on top of your passkey. Instead of using one over the other, I would recommend using them both for better device security.
Conclusion
At first glance, the idea of transferring Google Authenticator codes from one phone to another may sound a bit complicated. It really isn’t, though, once you get familiar with the app and how it functions with services that support 2FA.
It is a great little app for anyone who wants that extra layer of security protecting their online accounts. My goal with this article was to make sure you aren’t having a hard time using Google Authenticator to its fullest potential, whether it comes to setup or transferring codes between two phones.
Research Process: The total time involved to complete and publish this article is approximately 38 hours. This content was created through a structured research approach to ensure accuracy and reliability.
For more-related guides, you can explore our range of tutorials below:
- The 10 Top Password Managers (New Rankings)
- How to Transfer Apps From Android to Android Phone
- Google Meet Breakout Rooms: All That You Need to Know
- Best Cleo File Transfer MFT Alternatives
- Best 9 Free SCP Server Software For Windows & Mac [Top Rankings]
- How to Merge and Sync Two Google Calendars Into One
- How to Split Screen on Chromebook (3 Fastest Ways)
Was this helpful?
Recommended Reading
-

A simple guide to help you understand the multiple effective ways to answer the question - How to Transfer Apps from Android to Android phone quickly: Switching to a new Android phone can be very enticing. However, transferring all your apps and data from the old to the new Android…
-

This Wondershare MobileTrans review explains the features and usability required to retain essential WhatsApp data while switching to a new device: It feels exciting to boot up a new phone. But as soon as you realize you have to transfer data from your old phone to the new one, the…
-
Review this step-by-step guide to transfer files from Dropbox to Google drive. Also, explore the top tools to save and transfer data: The need for storage services has grown by leaps and bounds in the last few years. With the growing demand for storage services, services like Dropbox, Google Drive,…
-
Discover the simple ways to quickly add Subscript and Superscript in Google Docs. Implement these easy steps to insert a Superscript in Google Docs promptly: When writing academic dissertations or scientific papers, I always recommend using Google Docs. Such papers involve the frequent use of mathematical formulas, chemical equations, and…