Discover the core concepts of Jira Cloud Projects, including the administration of users and roles, along with a comprehensive exploration of field management:
Jira Software Cloud helps every project team member plan, track, and manage their work. Jira Software Cloud is a software as a service (SAAS) product that offers the following benefits.
- No infrastructure is needed, and there is no need to use VMs or physical servers to set up Jira
- No hassles of maintenance
- Built-in security
- Eliminate upgrades
- Access from anywhere
- Flexible pricing plans
Table of Contents:
Jira Cloud Administration: Introductory Guide
Tutorials in this Series:
Tutorial #1: Jira Cloud Projects – Create/Edit and Customizations (This Tutorial)
Tutorial #2: Jira Cloud Advanced Customization
Tutorial #3: Jira Cloud Workflows Customization
Tutorial #4: Jira Cloud Automation Rules and Integrations
In this series of articles, we will look at how we create and manage Jira cloud projects, users, groups, permissions, roles, and customization of issue types which include the creation of custom fields, managing issue workflows, managing issue screens, configuring dashboards, boards, automation rules and integration with other 3rd party tools.
You can sign up for a trial version here.
A Jira administrator can set up Jira projects and perform all the steps outlined in this document. Let’s start by creating a project in Jira using a Scrum template.
Suggested Read => Complete Atlassian JIRA training video course
Jira Cloud Projects: How to Create
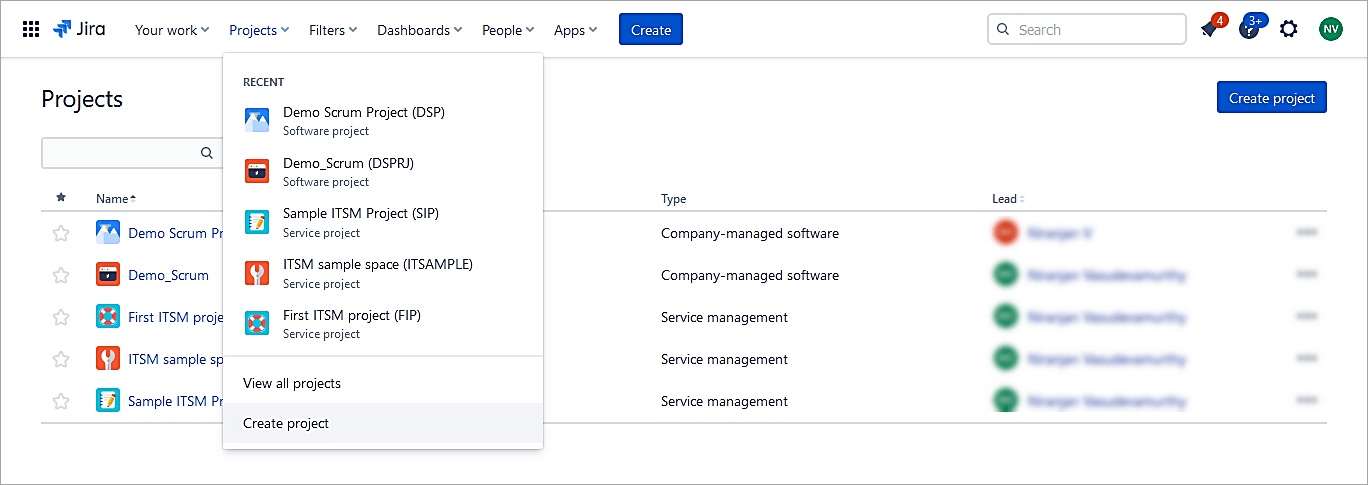
As you log in to your Jira cloud URL as a Jira administrator, go to Projects -> Create Project
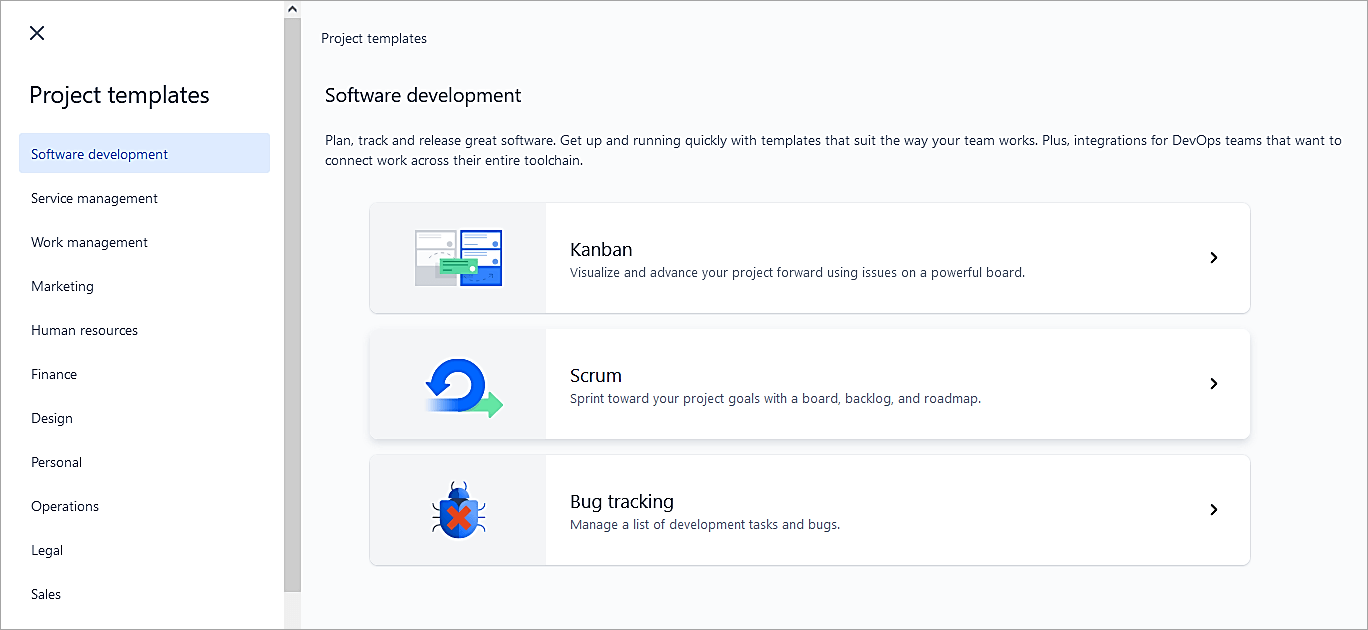
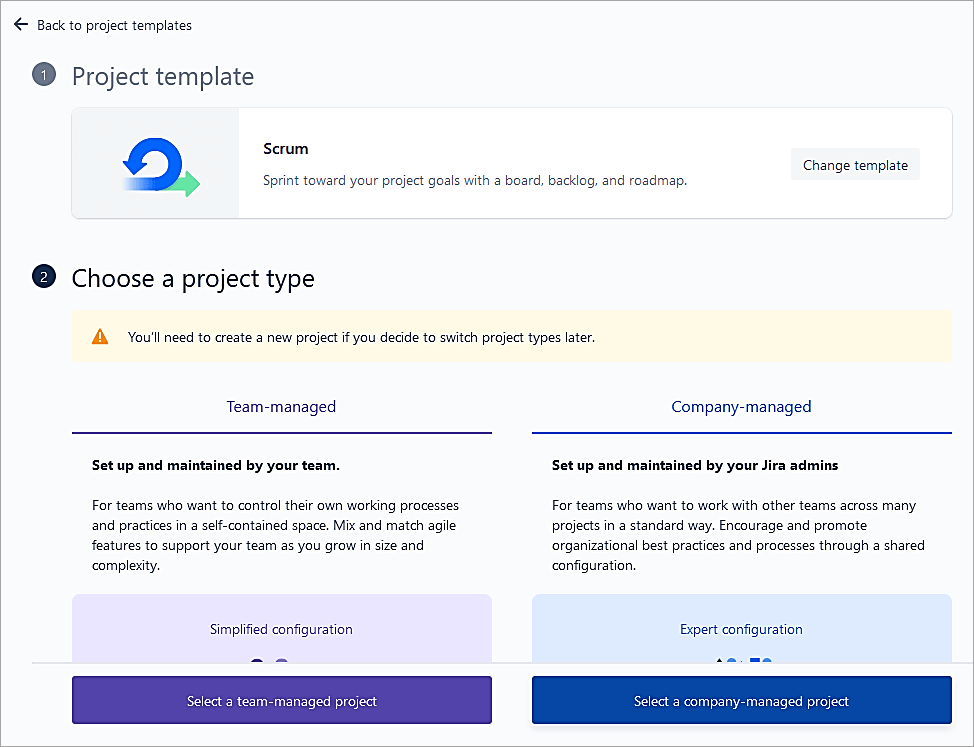
Select the Software development project template and click on Scrum.
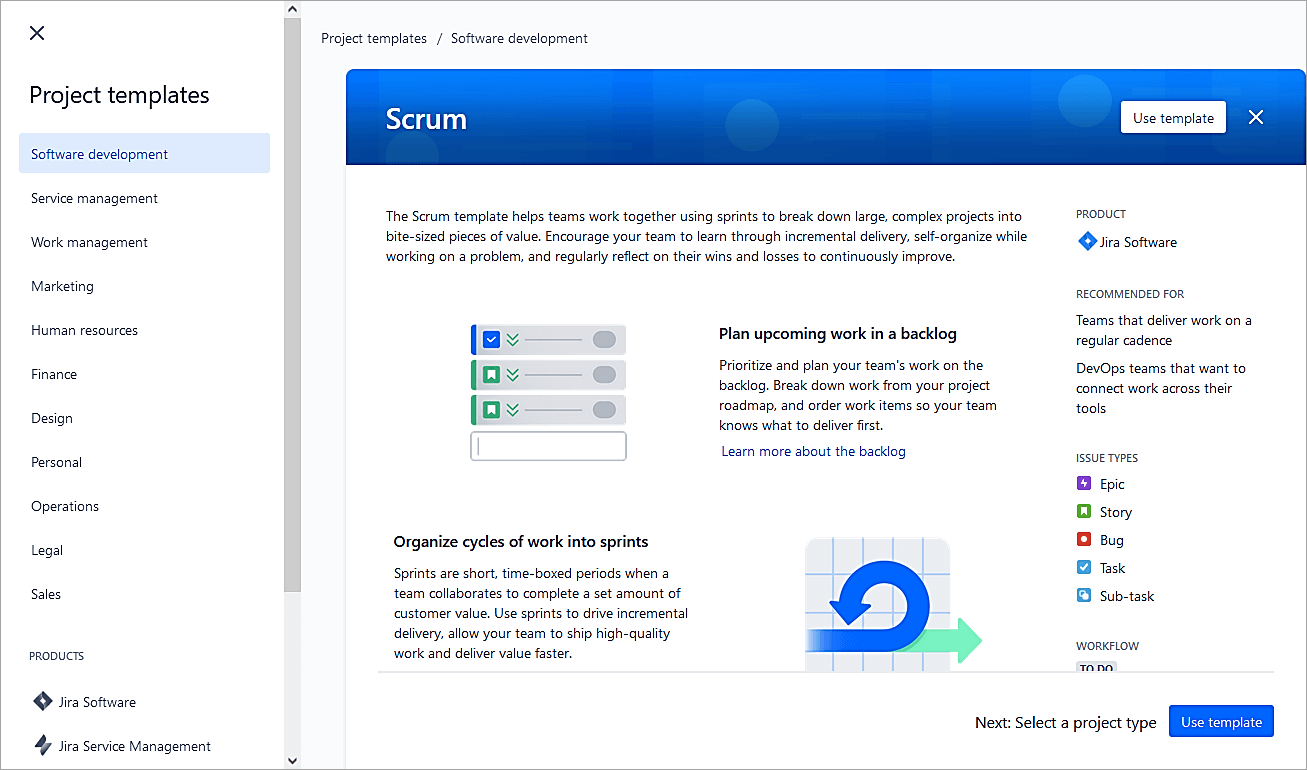
Click on Use template.
Select a company-managed project. Jira Admins manages projects of this type, adding custom fields and modifying workflows, screens, schemes, and other aspects. This is ideal for a centrally hosted platform for an entire company.
Whereas if Team-managed projects are selected, then anyone from the project team can administer the appropriate projects. This is ideal for a project that maintains and controls its processes and workflows.
Enter the name of the project and click on Create Project.

Also Read => Guide to JIRA and Subversion SVN Integration
Manage Users and Roles
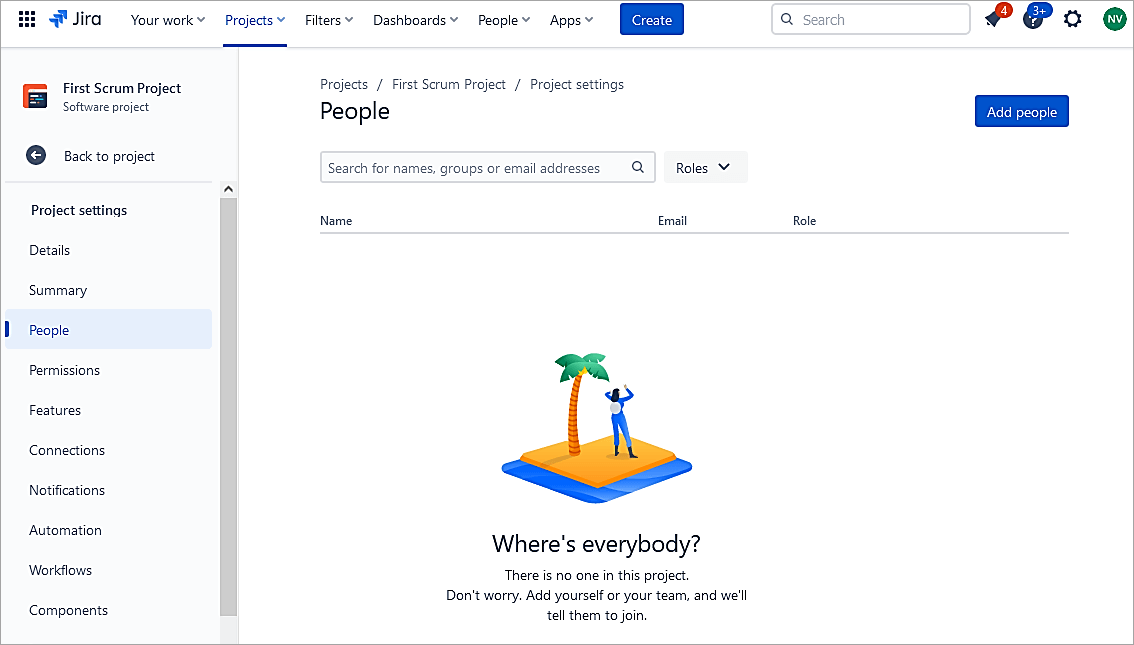
As a Jira administrator or as a Project Administrator, go to Project Settings -> People

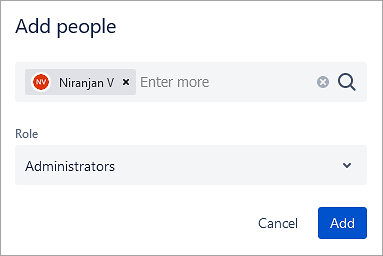
Click on Add people.
Select the user and role. Click on Add.
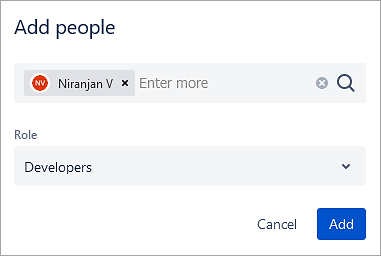
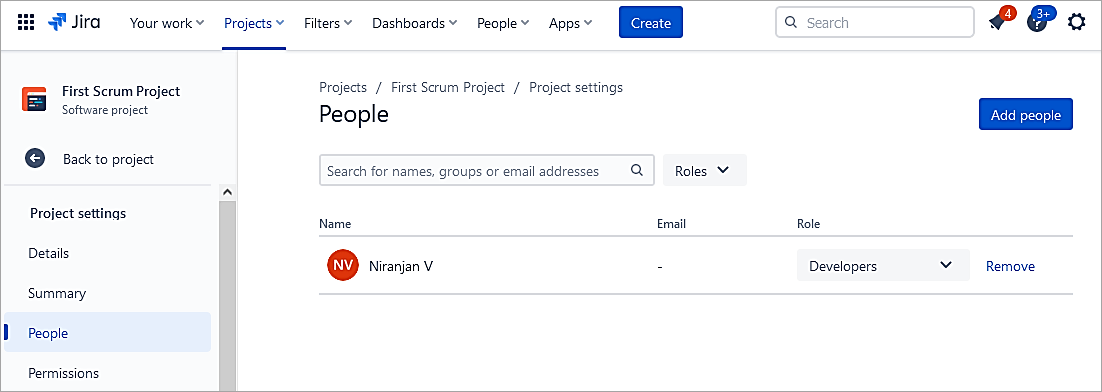
Also, adding the role of Administrator is equivalent to Project Administrator for that Jira Project.
Add a Custom Field
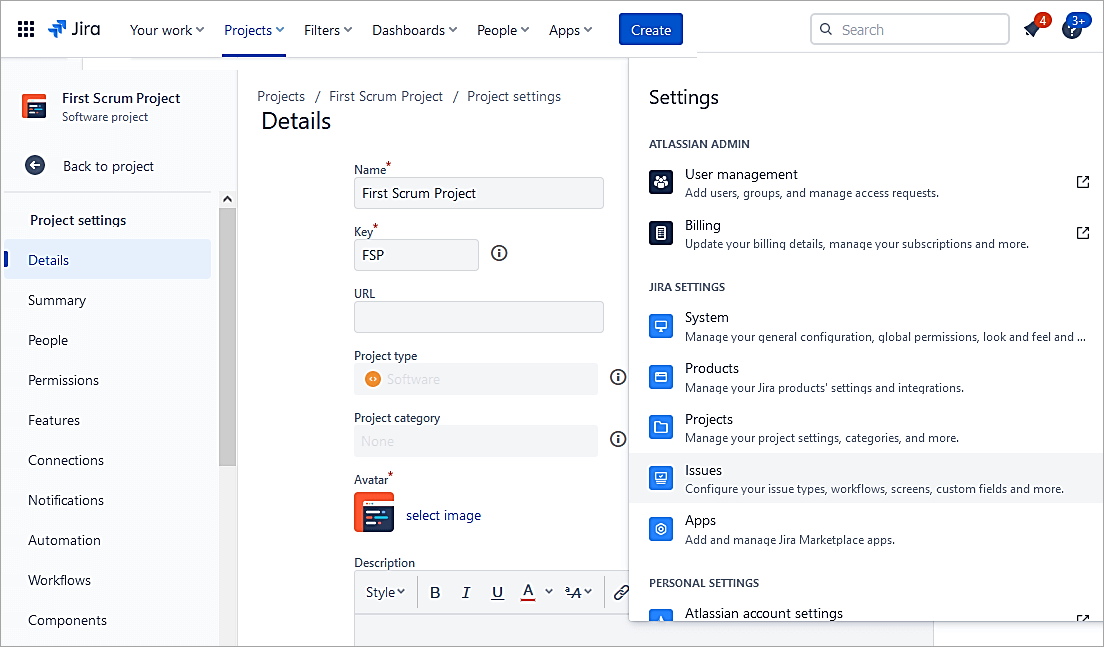
As a Jira admin, go to Settings -> Issues.
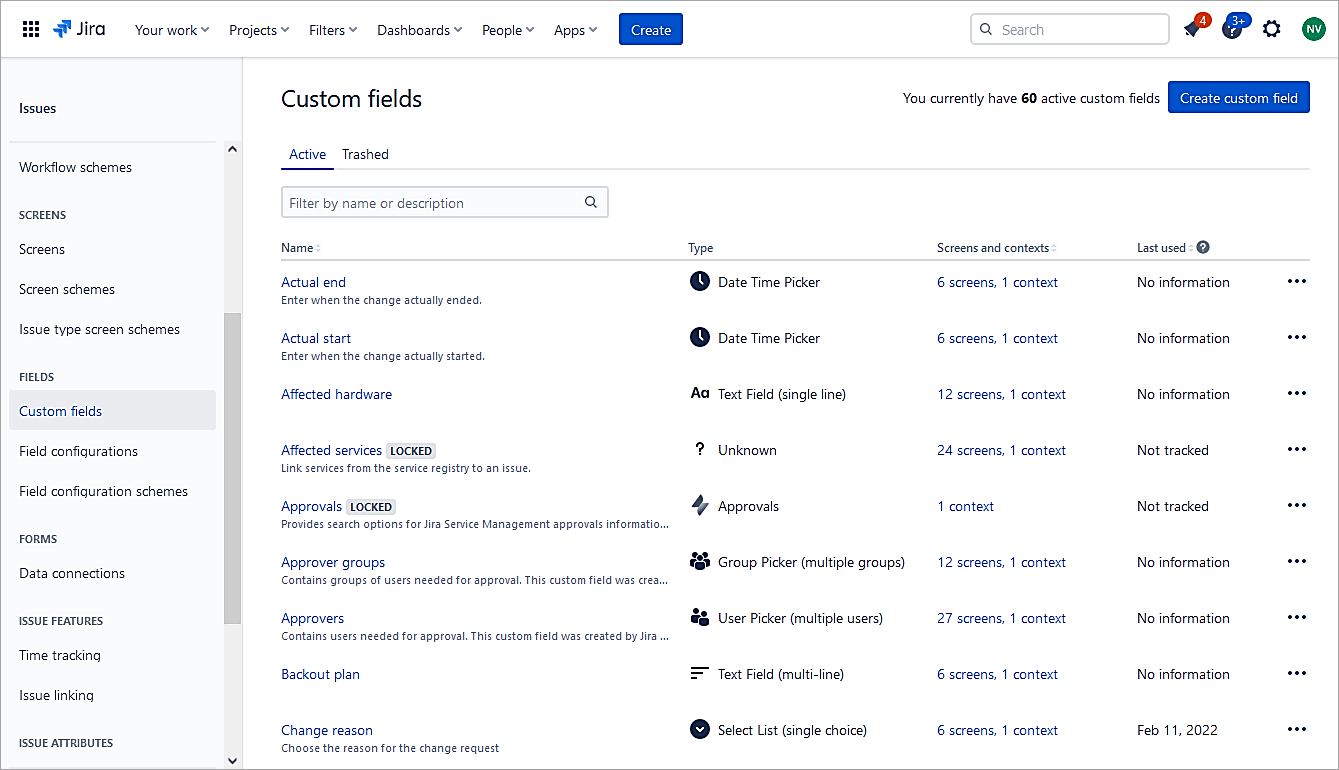
Select Fields -> Custom fields. Click on the Create Custom field.
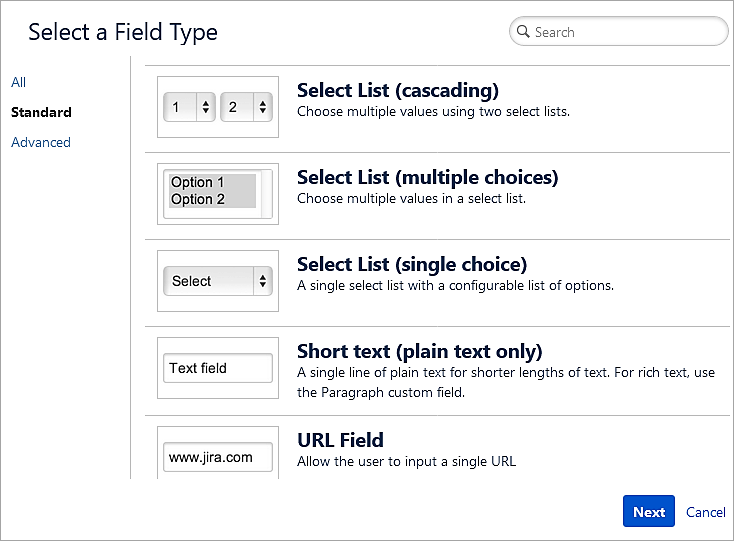
Choose Select List (single choice) and click on Next.
Add options.
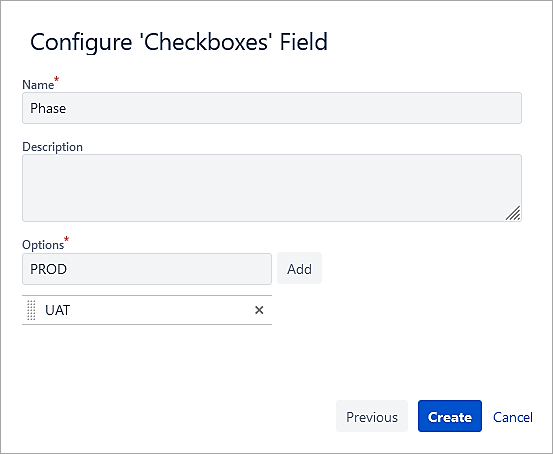
Click Create.
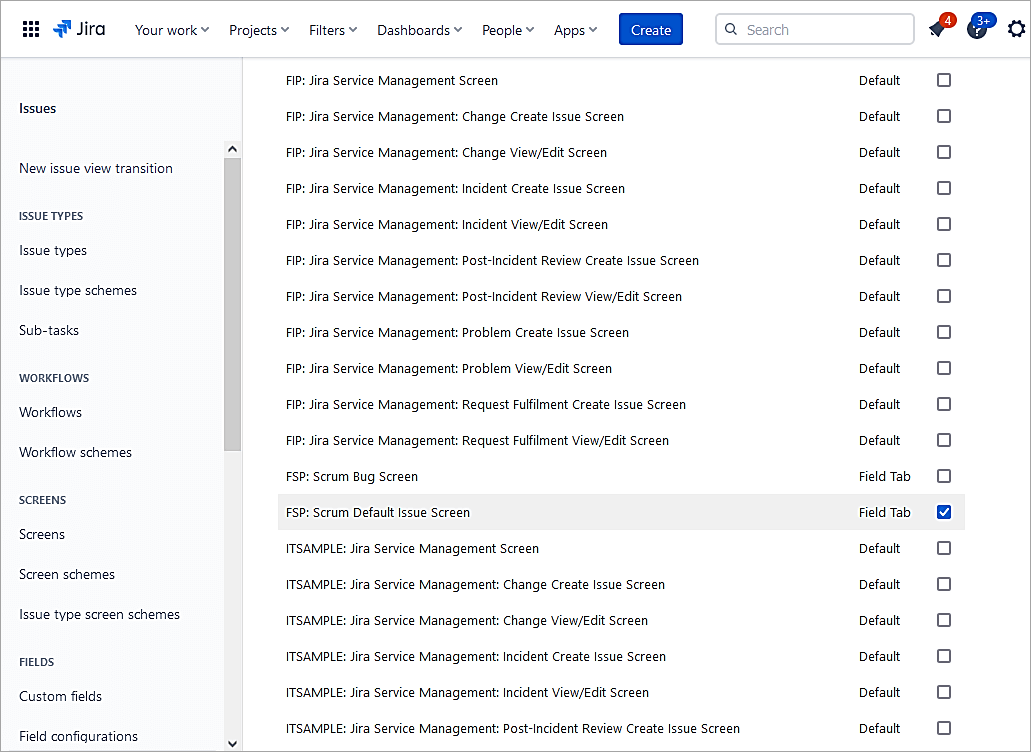
Select the screen for the issue to be added to. Click on Update.
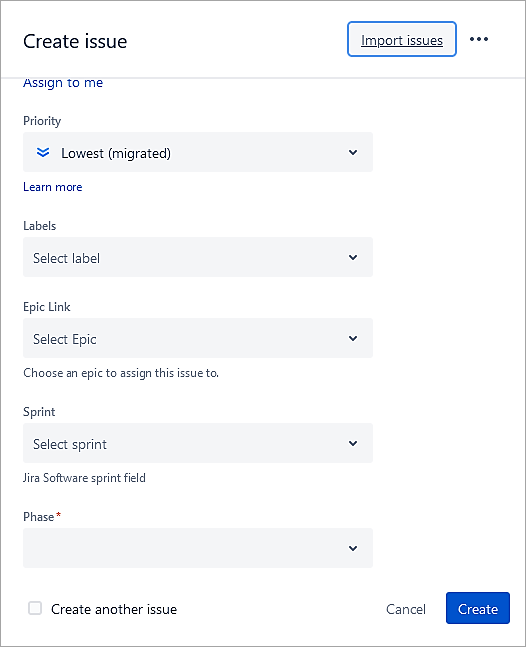
As you create a story issue, you will see the custom field.
Recommended Reading => Guide to Creating Jira Dashboard Quickly
Making a Field Mandatory
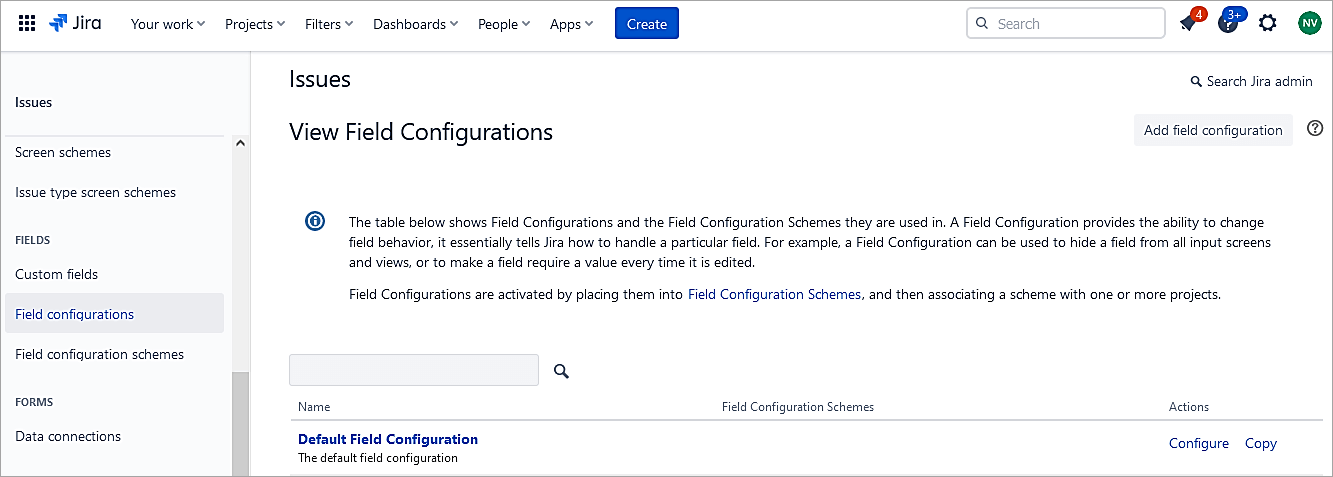
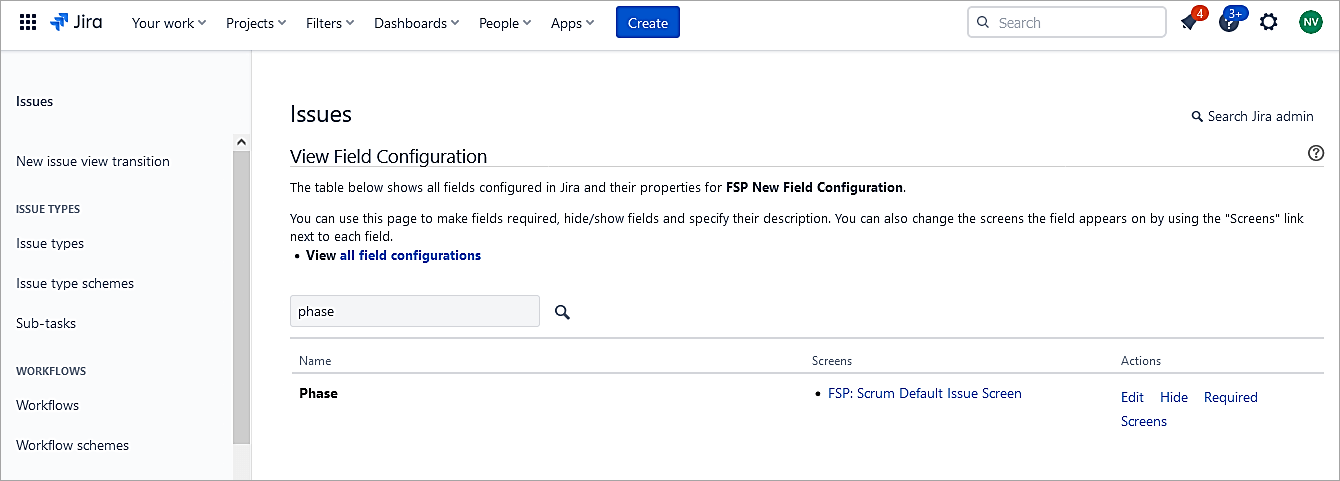
As a Jira admin, go to Settings -> Issues -> Fields -> Field Configuration. Click on the Default Configuration.
Search for the field and click on Required.

When a new issue is created, the phase field is mandatory, as you can see.

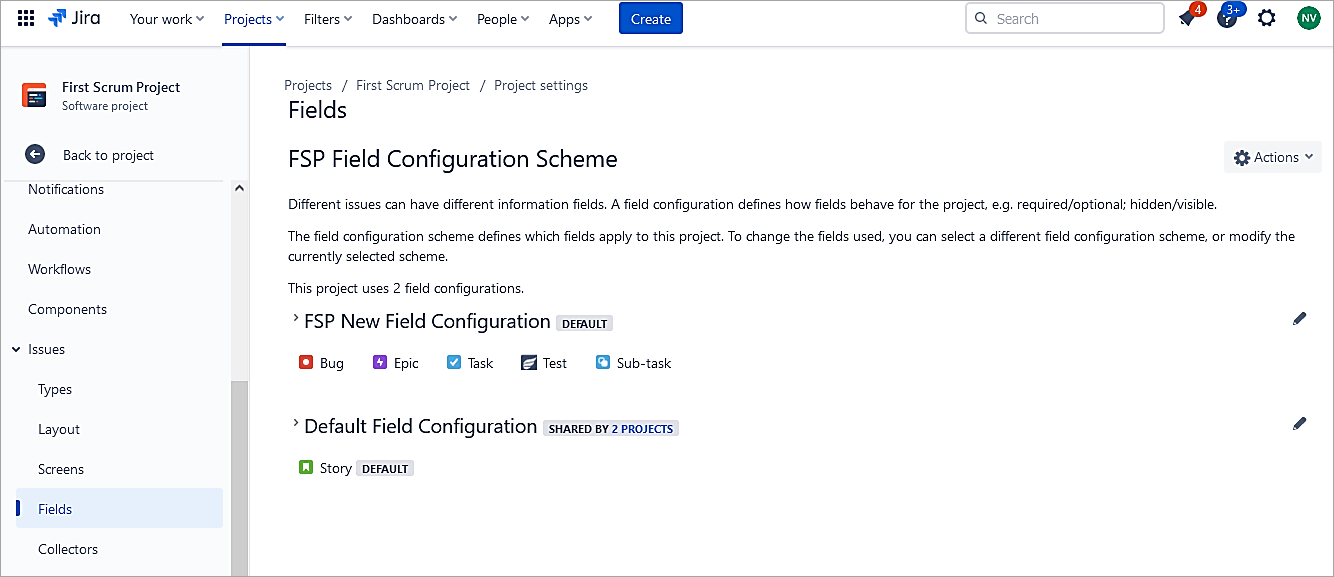
If you look at the Project settings -> Fields, the configuration used is the Default field configuration, and hence we made the field mandatory as part of the Default field configuration.
A field configuration defines the behavior of the fields, whether it is optional/mandatory/hidden/visible.

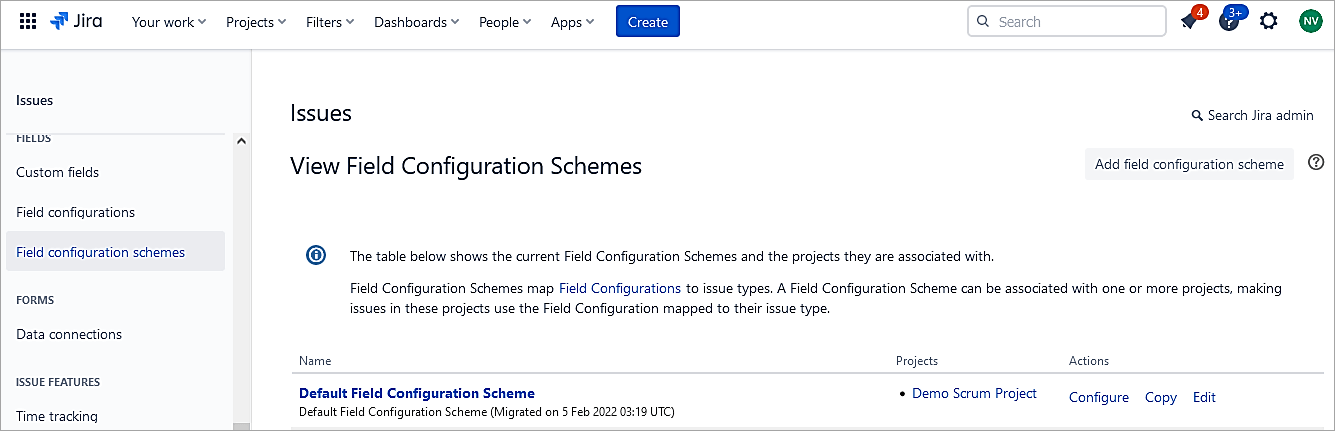
Field configuration scheme
A field configuration scheme is used to apply a field configuration to a specific issue type. In the above example, for any issue type, the field phase is mandatory, as the project uses the Default Field Configuration.
So, let’s say the phase field should be mandatory for the Story issue type, only then we would follow the below steps:
- Add a new Field Configuration.
- Make the phase field optional in this new field configuration.
- Create a new Field configuration scheme using the new field configuration.
- Associate the issue type Story to the Default Field configuration where the phase field is mandatory.
- Choose a different scheme (New Field Configuration Scheme) for the project in the settings.
Firstly, let’s add a new Field configuration, ensuring the field phase is optional
In the Settings-> Fields -> Field Configuration, click on Add Configuration.
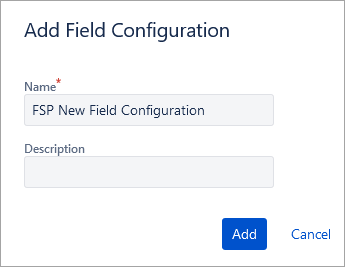
Click on Add.
Ensure the field phase is optional in this field configuration.
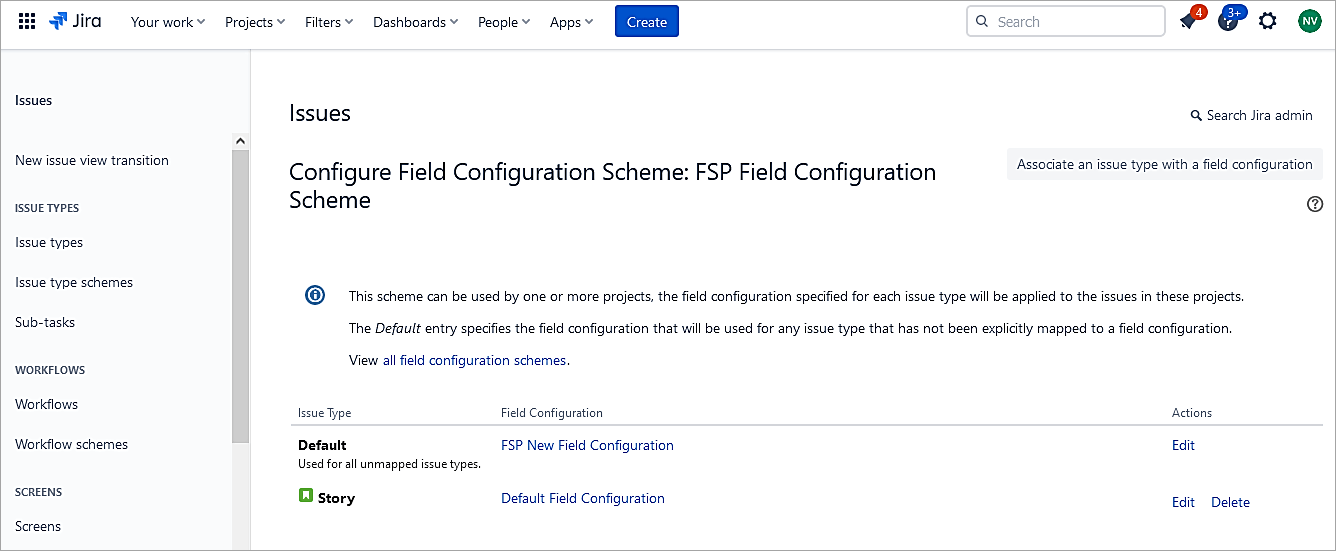
Add a new Field Configuration Scheme.

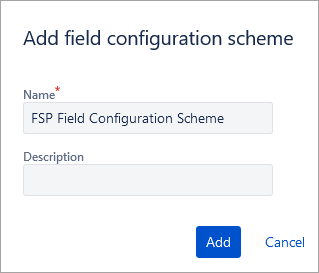
Click on Add, Ensure Default is configured for the new field configuration, and Story is mapped to the Default field configuration.
Associate an issue type with a field configuration -> Select Story.
In the Project settings -> Field change the field configuration scheme to the newly created scheme.
Choose Actions -> Use a different scheme

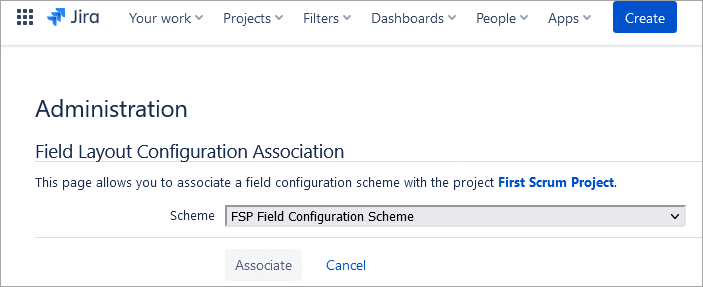
Choose Associate.
Click a Story and Epic to look at the field Phase.
The field phase is mandatory in the Story issue and optional in the Epic issue type.
Also Read => Overview of Jira Download, Installation and Setup
Field Context
With context, you can have different combinations of issue types and projects for the same custom field.
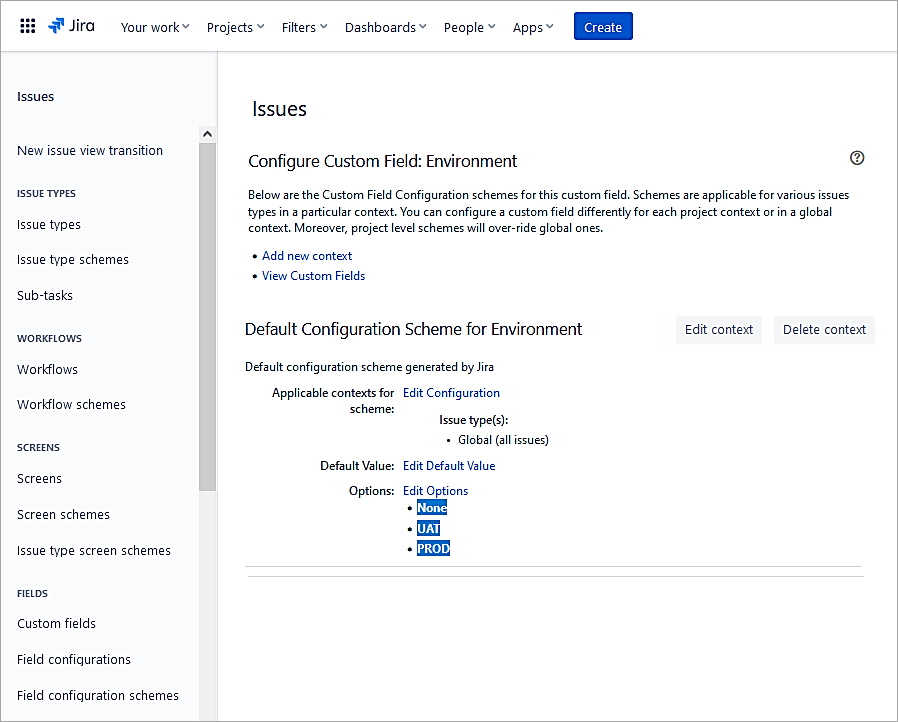
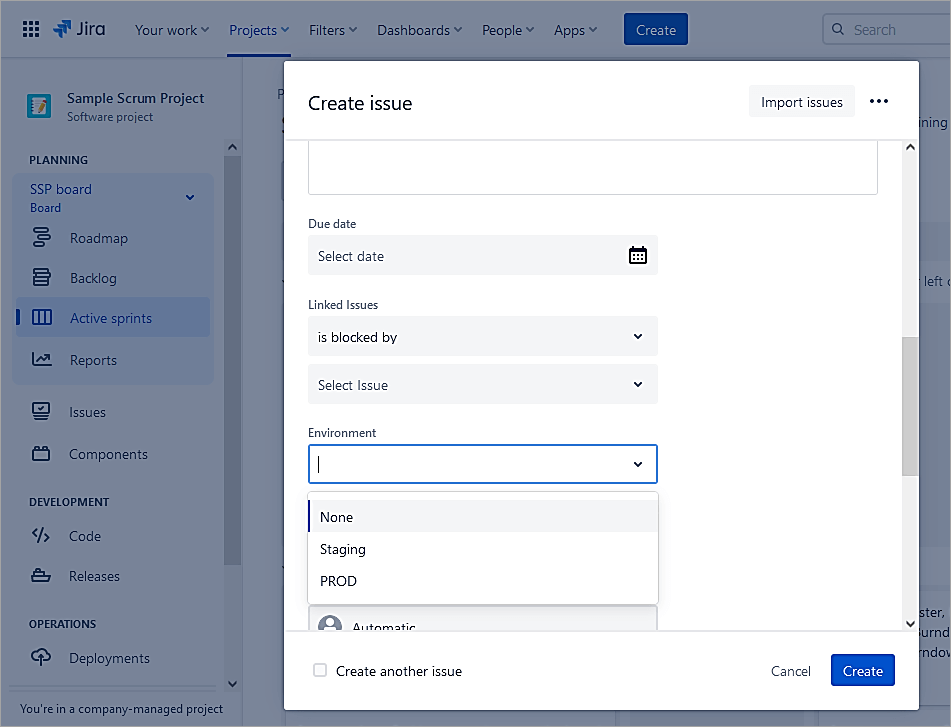
E.g., a custom field ‘Environment’ can have values ‘None’, and ‘UAT’ for one project. The same custom field has values ‘None’, ‘UAT, and ‘PROD’ for another project.
For the custom field ‘Environment’, click on 3 DOTS and select Contexts and default value.

You can see here that the custom field has the following values for a project.
To add the same custom field to another project with different values, click on Add new context.
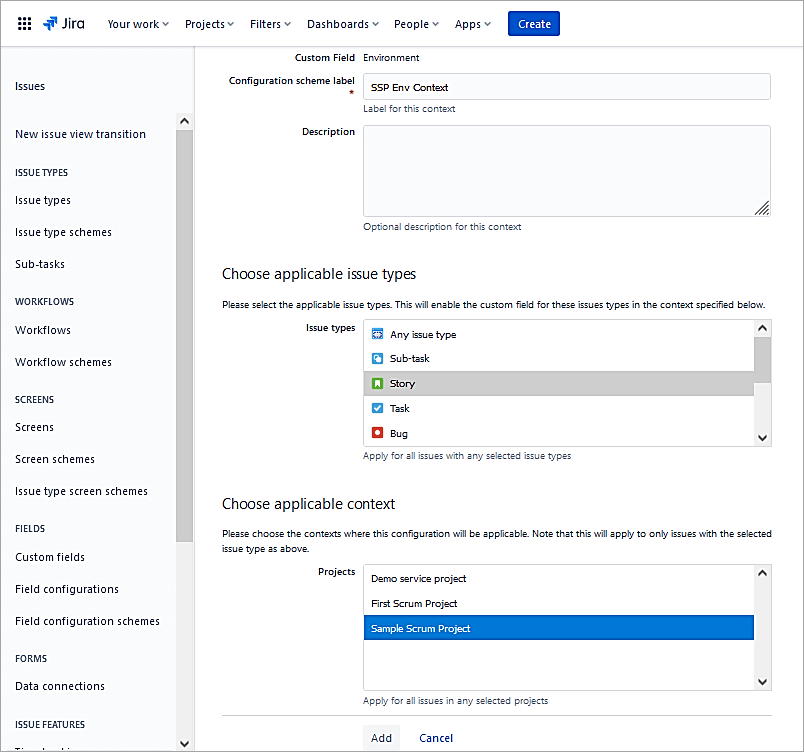
Provide a name and select Issue type(s) and Project(s). Click on Add.
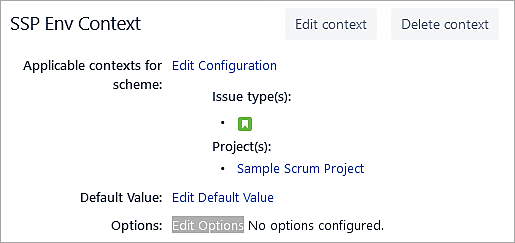
Under the new context, click on Edit options.
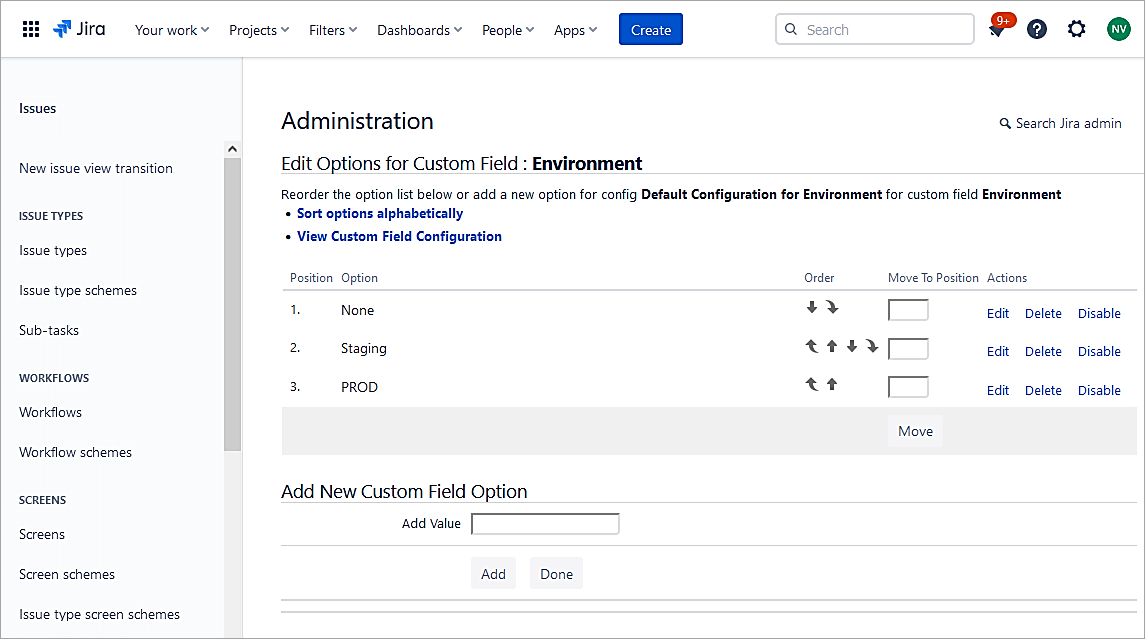
Click on Done.
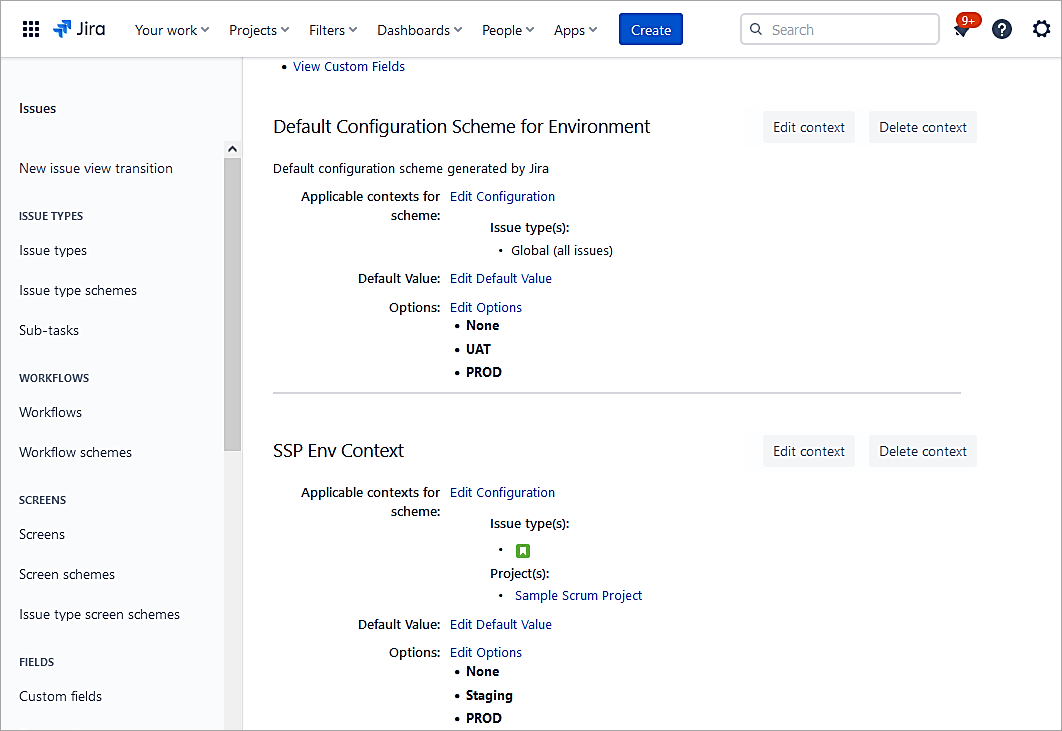
You can now see 2 contexts for the same custom fields, but with different values.
Add the custom field to the Screen. The field is now visible when a Story issue is created.
Set a Default Value for a Custom Field
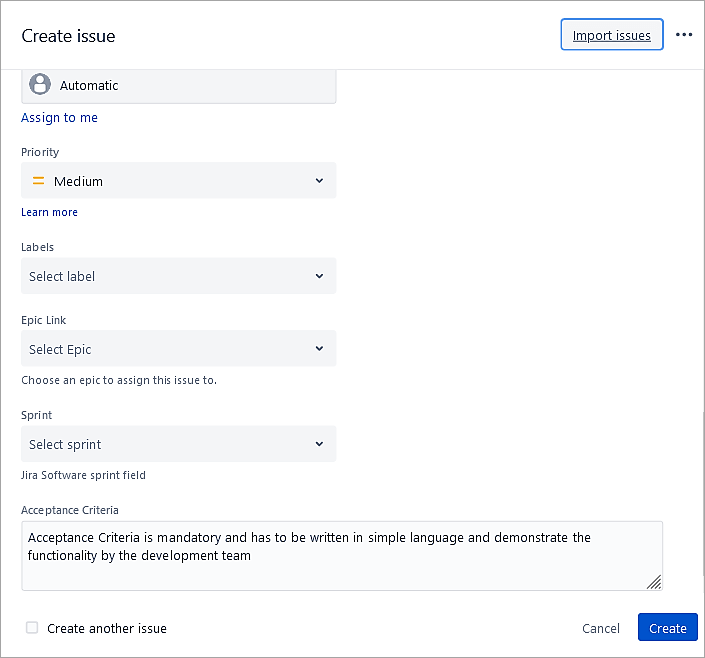
This section will look at pre-populating a custom field called ‘Acceptance Criteria’. Acceptance criteria confirm when a story is completed and working as per the requirements.
Go to Settings -> Issues -> Custom field
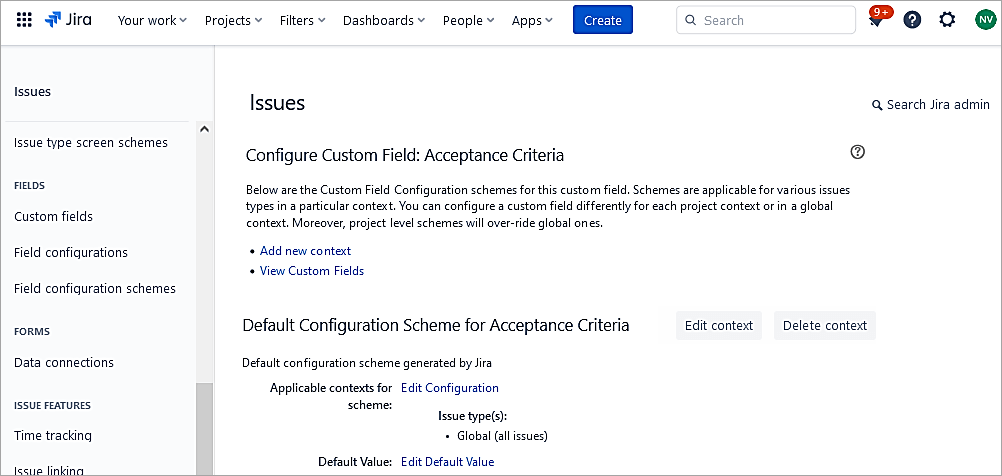
On the custom field, open the Contexts and default value.

Click on Edit Default Value.
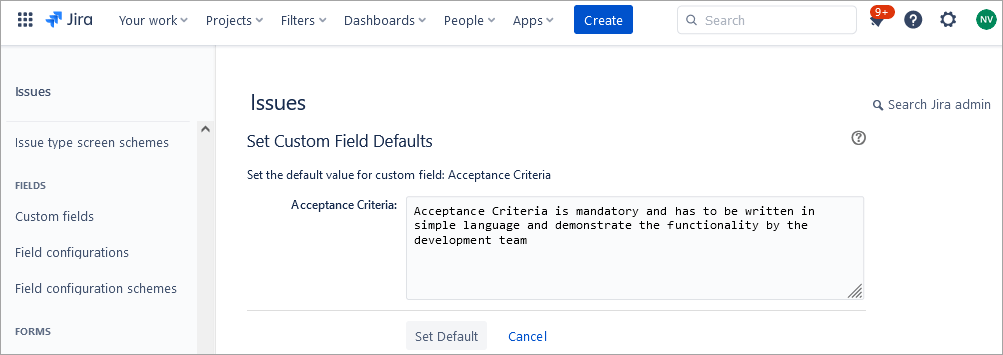
Enter the text and click Set Default.
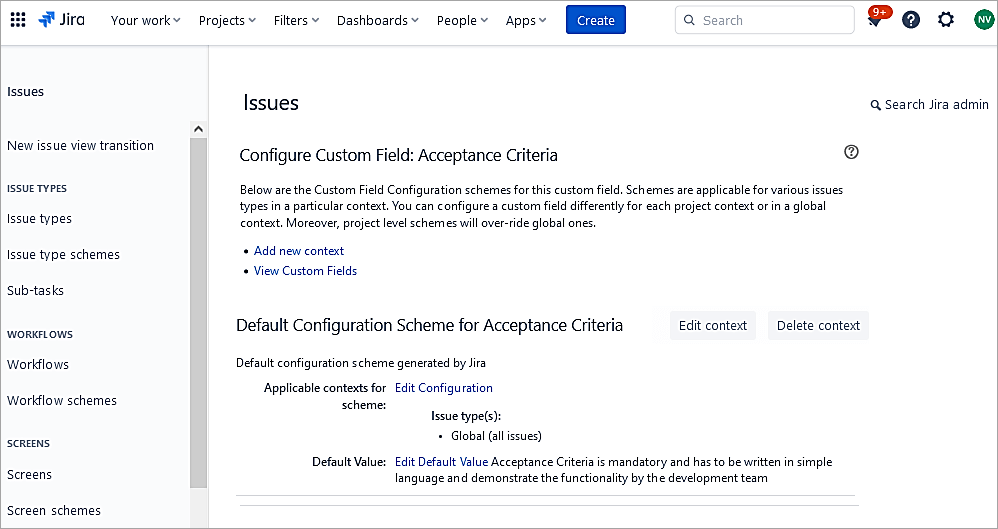
Test the same. Click to create a new Story issue. You can see the field is pre-populated.
Suggested Reading => Guide to Scrum Handling with Jira
Conclusion
In this tutorial, we looked at the basics of Jira Software Cloud project creation and managing users, roles, along with the field management aspect.
In the next part of the series, we will look at advanced customization to create custom issue types and screens that workflows and automation will then follow in Jira, which is a very good feature to avoid any manual activities.
Was this helpful?
Recommended Reading
-

Quickly discover Jira Service Management Cloud's ability in ticket management and task automation. This tutorial will guide you on the aspect of setting up SLAs with step-step screenshots: In the previous tutorial, we looked at how to set up a Jira Service Management Project and how customers typically use the…
-
Learn Jira Admin Aspects: JIRA Administration and User Management Tutorial We learned about the JIRA workflow in detail in our previous tutorial. We are going to learn all about the JIRA Administration today. This is a unique opportunity to learn the admin aspects of a Project/Incident/Test Management tool. Not all…
-
JIRA Agile Tutorial: Agile Project Management Using Jira Our previous tutorial on JIRA Administration explained about JIRA Admin and User Management. Agile methodology for software development has gained immense popularity in recent years. JIRA Tool supports the Agile Software Development methodologies like Scrum and Kanban. Using JIRA Agile boards and…
-
A Step-By-Step Guide to JIRA and Subversion SVN Integration: JIRA is a very powerful issue & project tracking tool and is most popularly known by its use for bug tracking as well. The other tools from the Atlassian suite which cover the ALM approach and that are tightly integrated with…
-

JIRA Bug Tracking: Defect Life Cycle in JIRA Jira Download and Installation was explained in detail in our previous tutorial. Test teams are always apprehensive about picking up JIRAs for Defect Management. Doubts are warranted. This stems from the fact that though JIRA bug tracking tool is applicable to IT businesses,…
-

Top Free Open Source and Commercial JIRA Alternatives/Competitors: Popular JIRA plug-ins were explained in detail in our previous tutorial. Read through our entire range of tutorials in this JIRA series. JIRA is a bug tracking and project management tool for agile teams. It was developed by Atlassian and is currently used…
-
A Guide to Managing Issues in JIRA, Creating JIRA Workflow and JIRA Reports: JIRA Sub-task was explained in our previous tutorial from the Series of JIRA Tutorials. We have seen the different kinds of issues and how to create them in our earlier JIRA Tutorials. This is the next JIRA…
-

We have provided an extensive, step-by-step guide on how to integrate JIRA with QTest for your benefit. Let's get started. Atlassian Confluence has been explained in very simple terms for your understanding in our previous tutorial. At STH, we believe in sharing best practices, tools, techniques, and processes. We also…